User Management
User Management is where admins add people to ScalePay and manage their access.
Use it when a new teammate joins, someone changes teams, or a user should no longer access the workspace.
What User Management is used for
In Organization -> User Management, you can:
- View all users in your organization
- Search users
- Move through paginated user lists
- Invite one or multiple team members by email
- Add a user manually
- Edit user basic information
- Assign or update roles
- Open a user detail page
- Delete a user
Access and permissions
If a button is missing, contact your workspace admin to update your permissions.
Open User Management
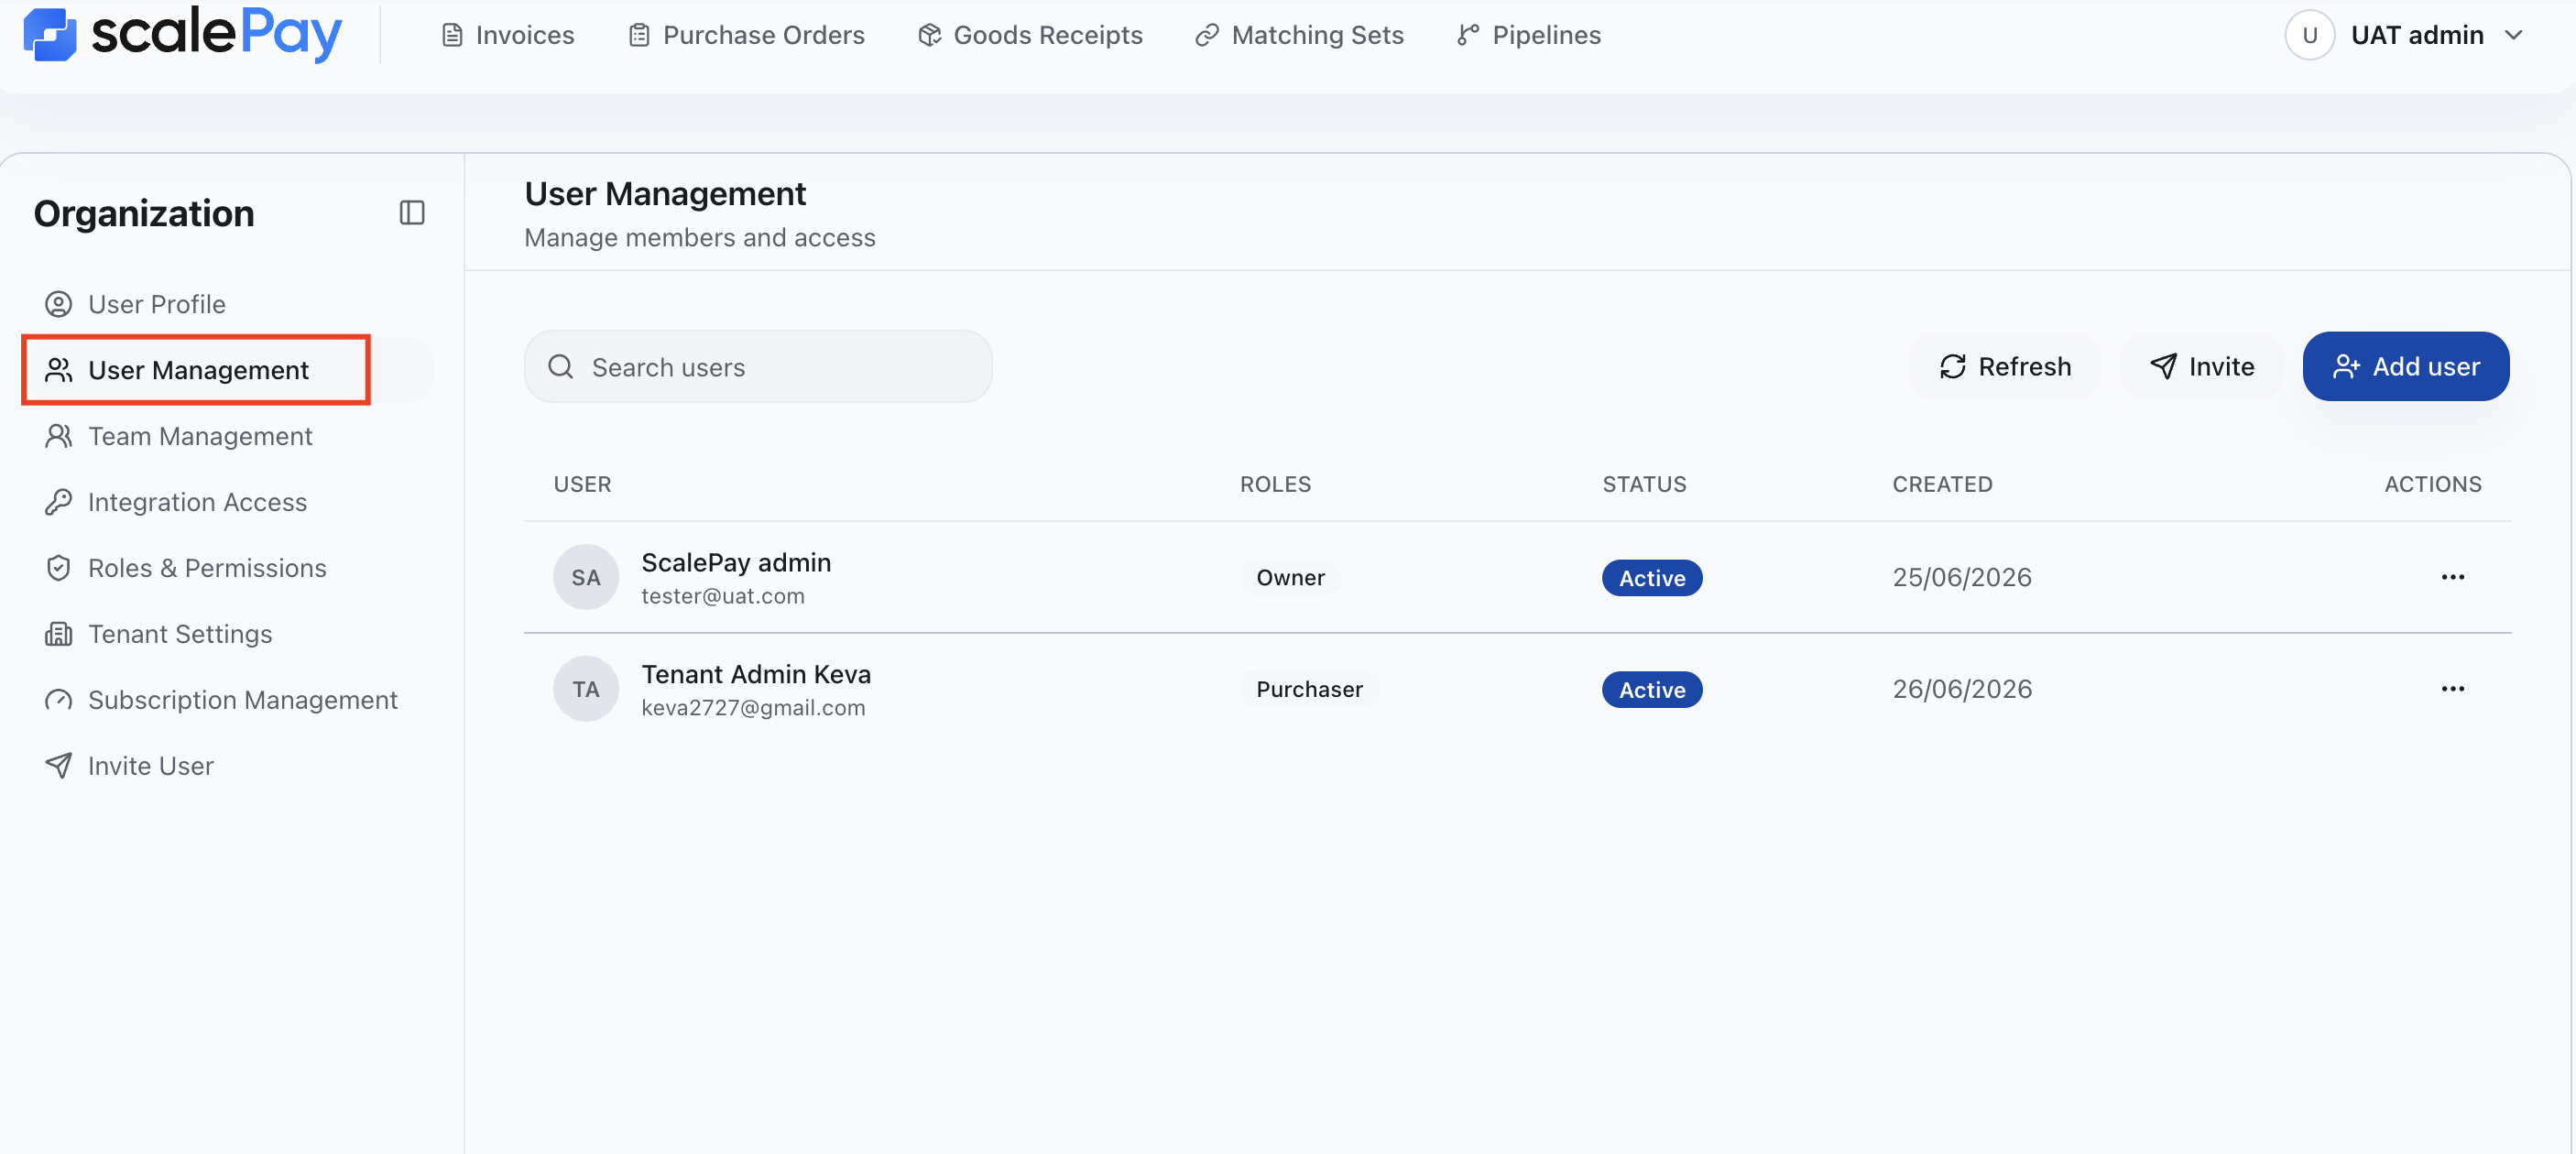
- Under profile tab, open Organization.
- Select User Management.
- You will see a table with columns:
- Name
- Roles
- Status
- Created At
- Actions
Find users quickly
Use the search box at the top of the page:
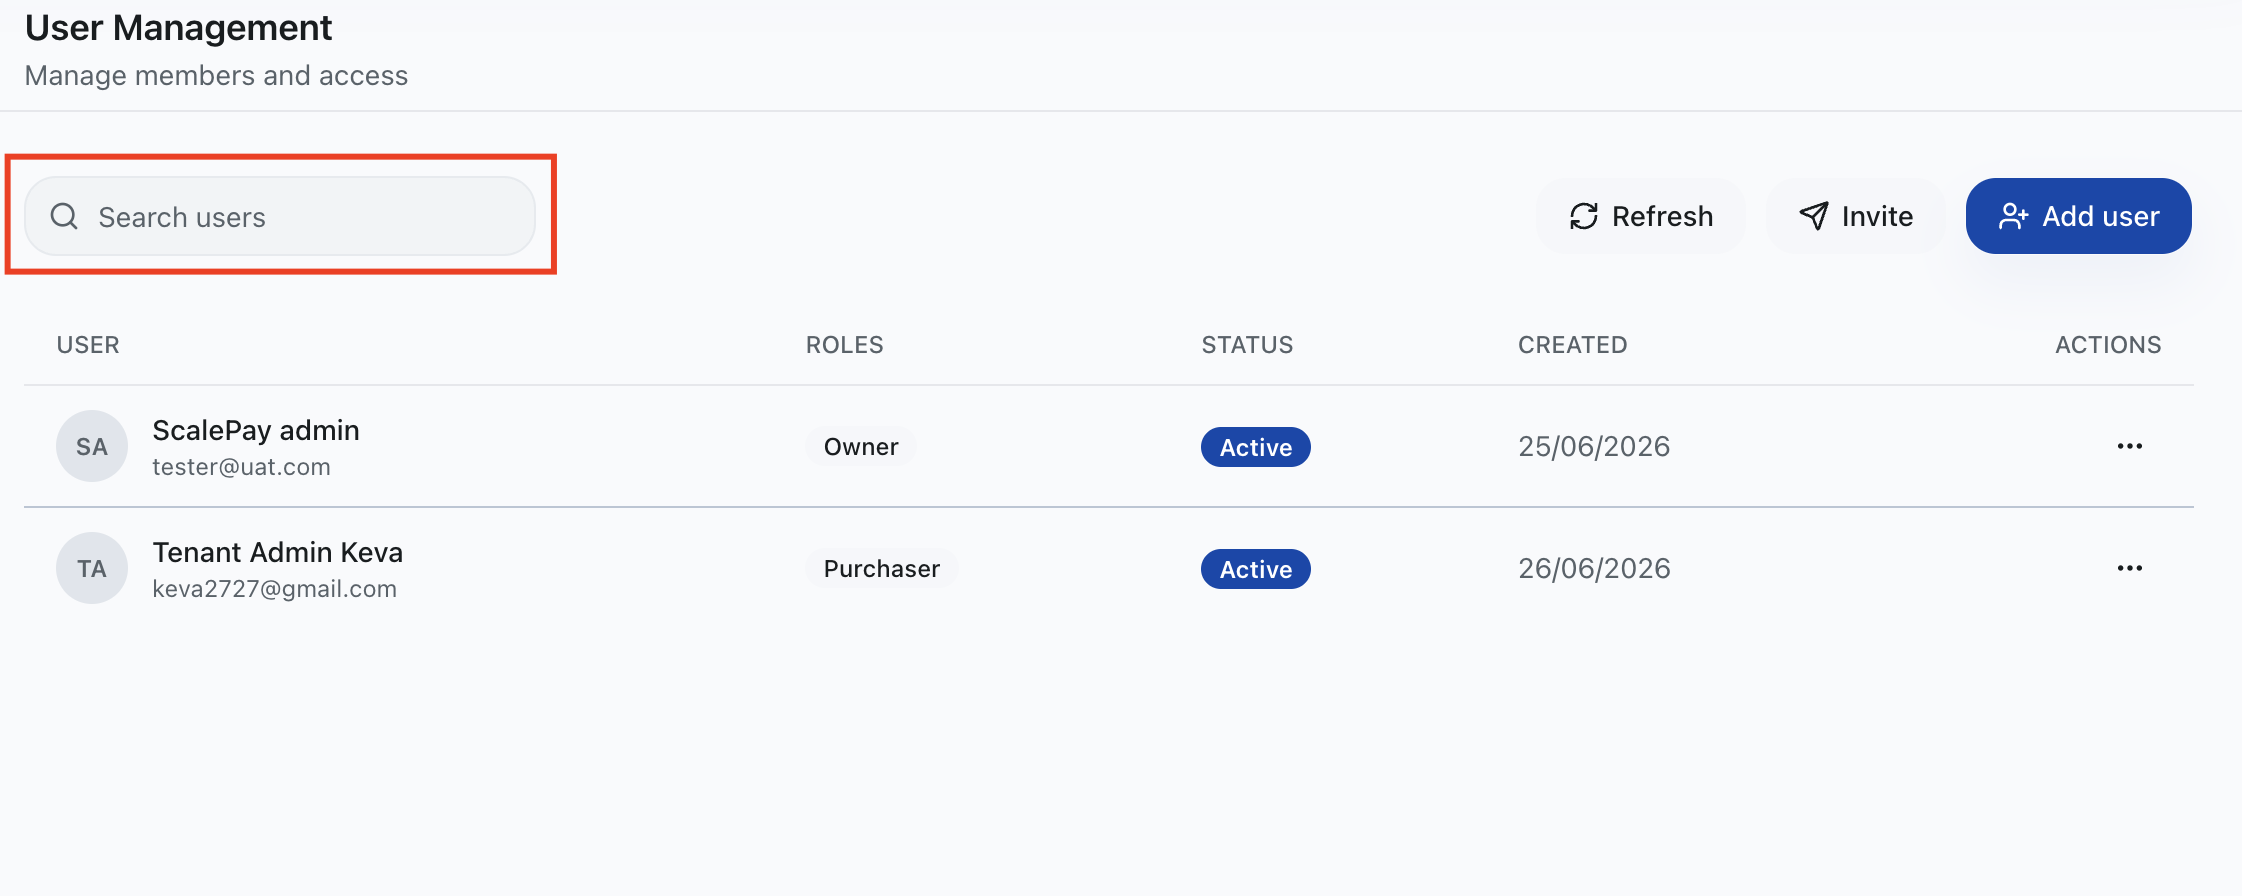
- Type your keyword (for example: email or name)
- Results are refreshed automatically after a short delay
The table uses pagination. You can change page and page size from the table controls.
Invite users by email
Invitation is the easiest option when adding teammates.
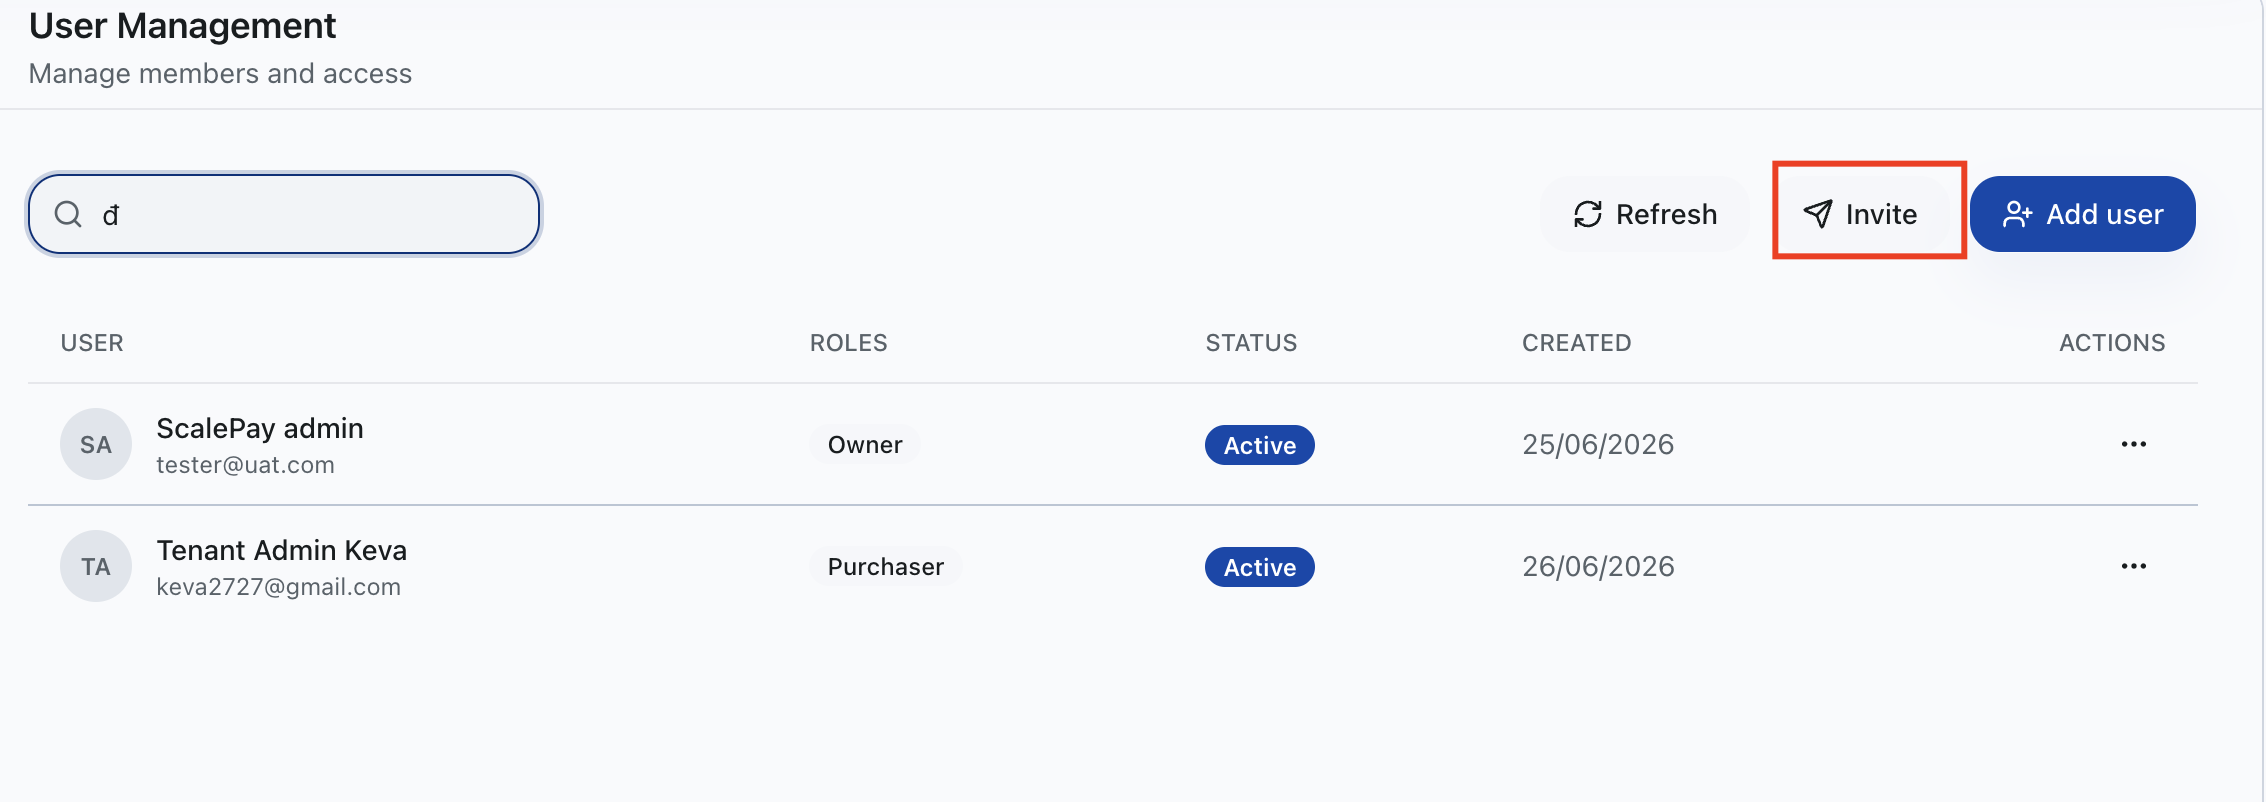
-
Click Invite Users.
-
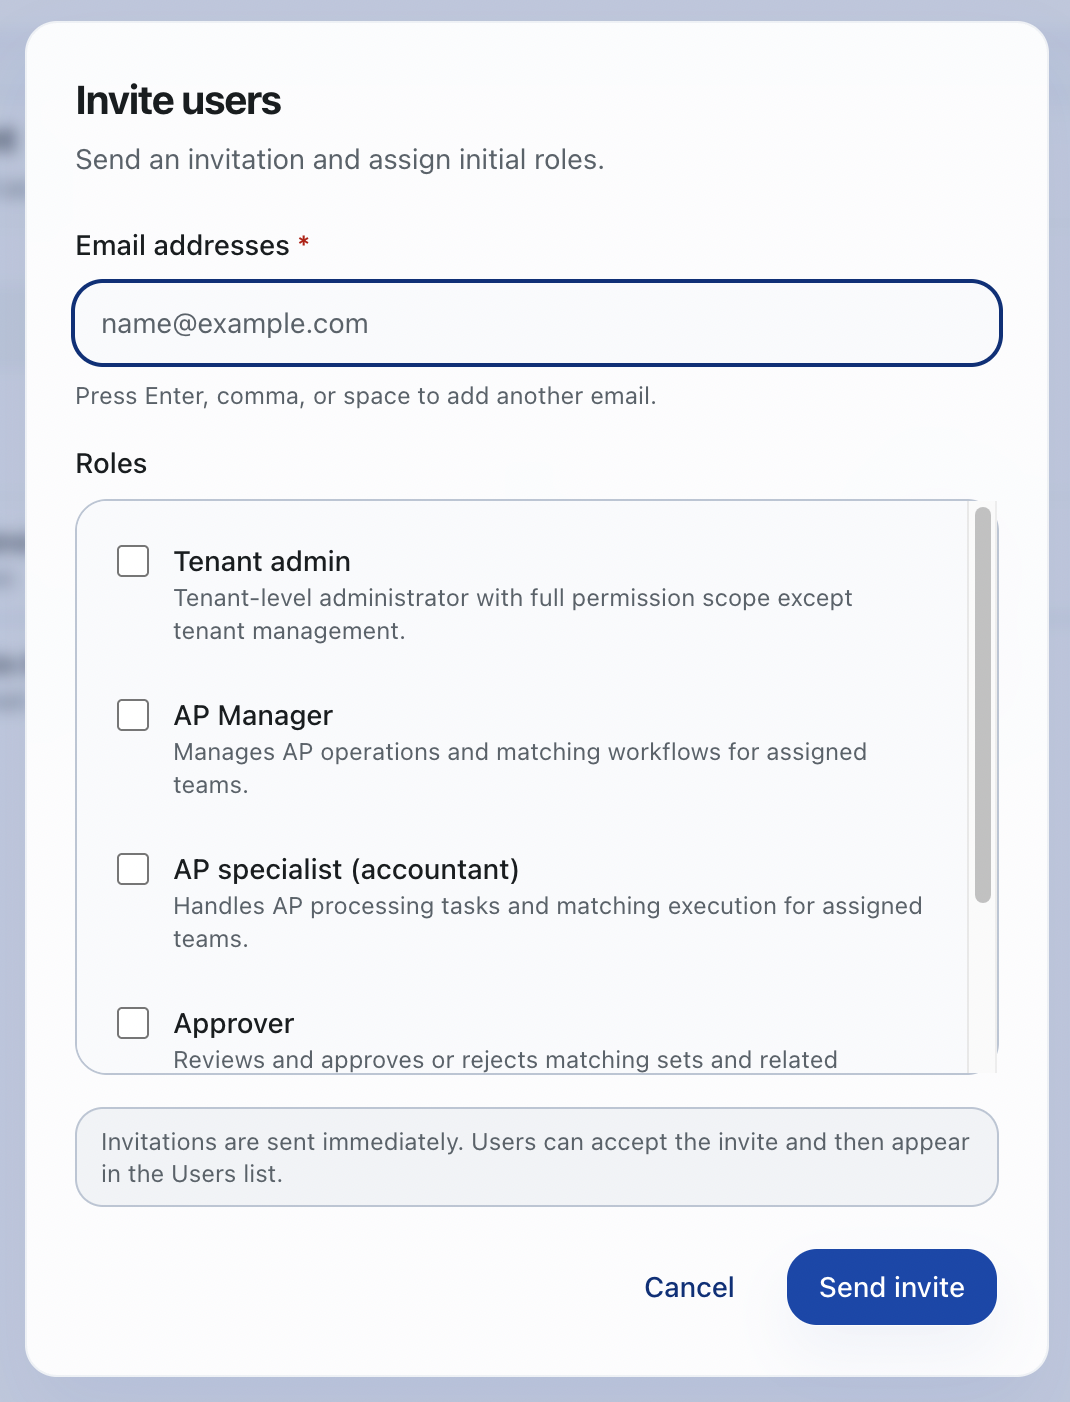
Enter one or more email addresses.
-
You can add emails by:
- Pressing Enter
- Typing a comma
- Typing a space
- Pasting multiple emails at once
-
Click Send Invite.
Important:
- Invalid or duplicate emails are blocked in the dialog.
- Invitation links are valid for 7 days.
- After accepting the invitation, the user can sign in. If your company uses SSO, they should use the SSO option explained in Account Registration.
Add a user manually
Use manual creation only when your organization wants an admin to create the account directly.
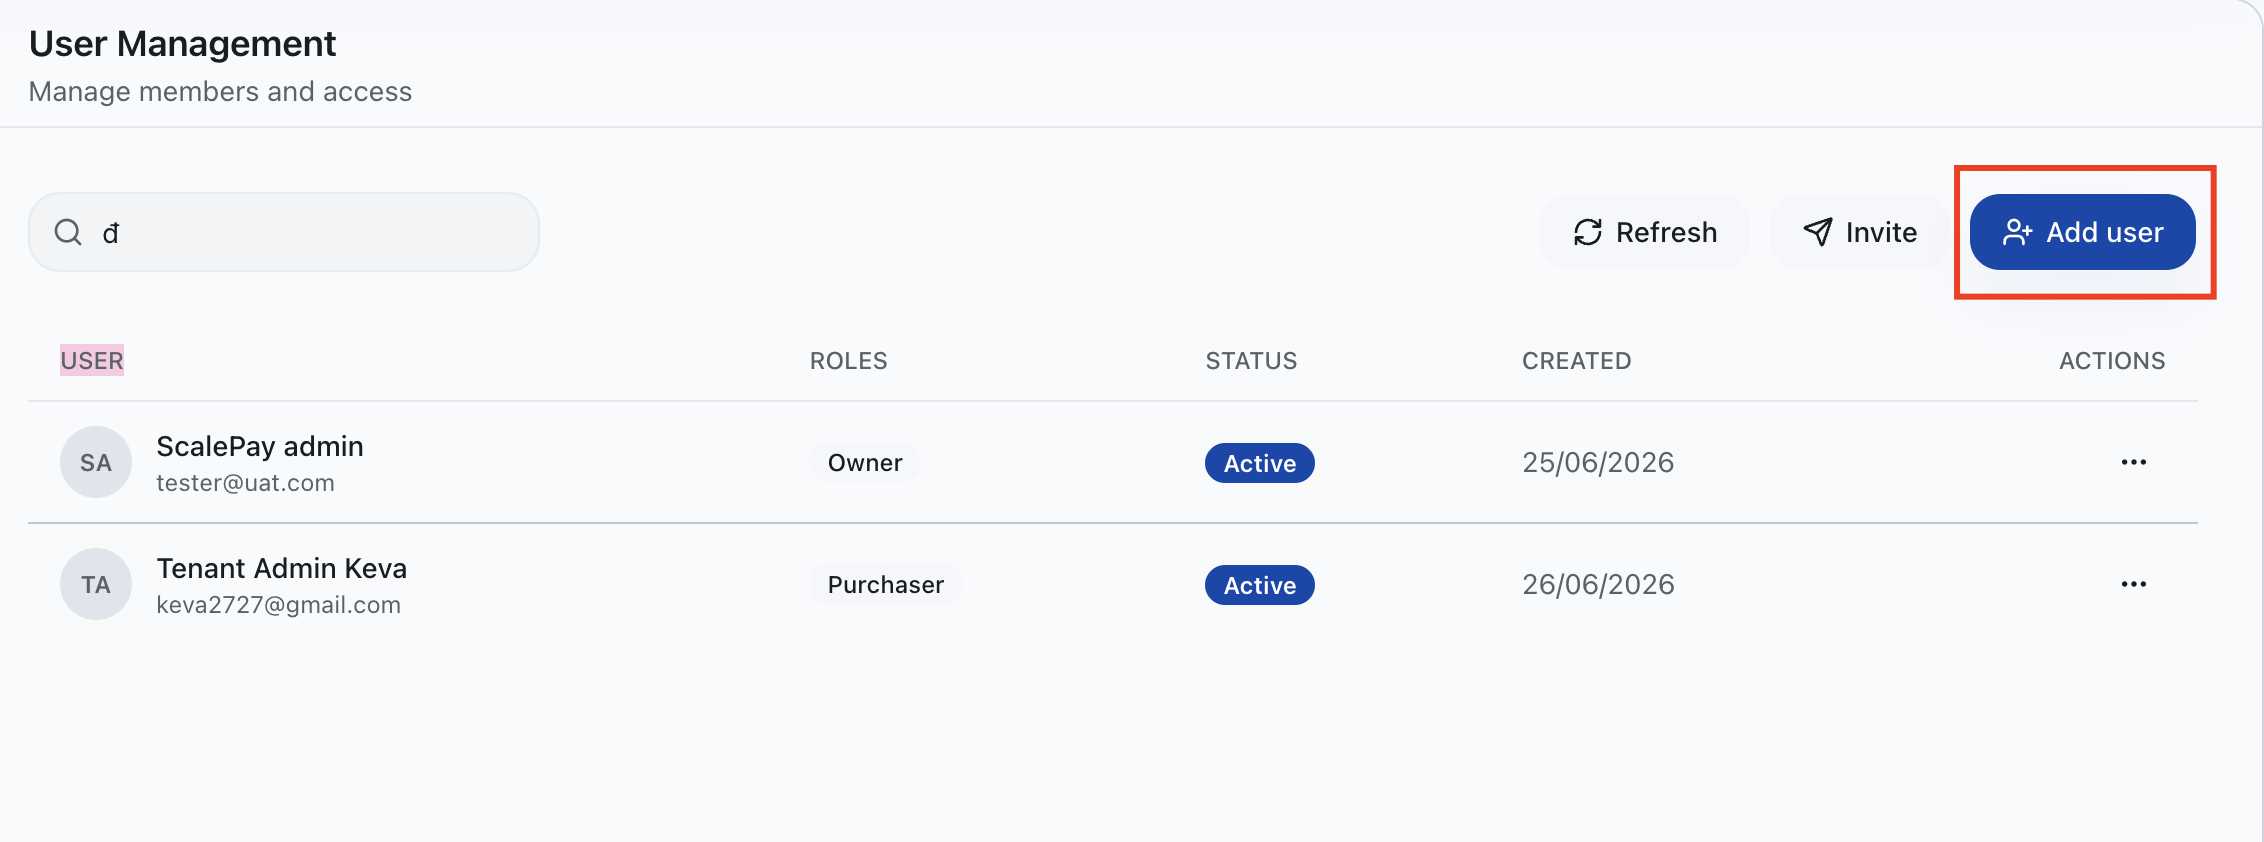
-
Click + Add User.
-
Fill in required fields:
- First Name
- Last Name
- Password
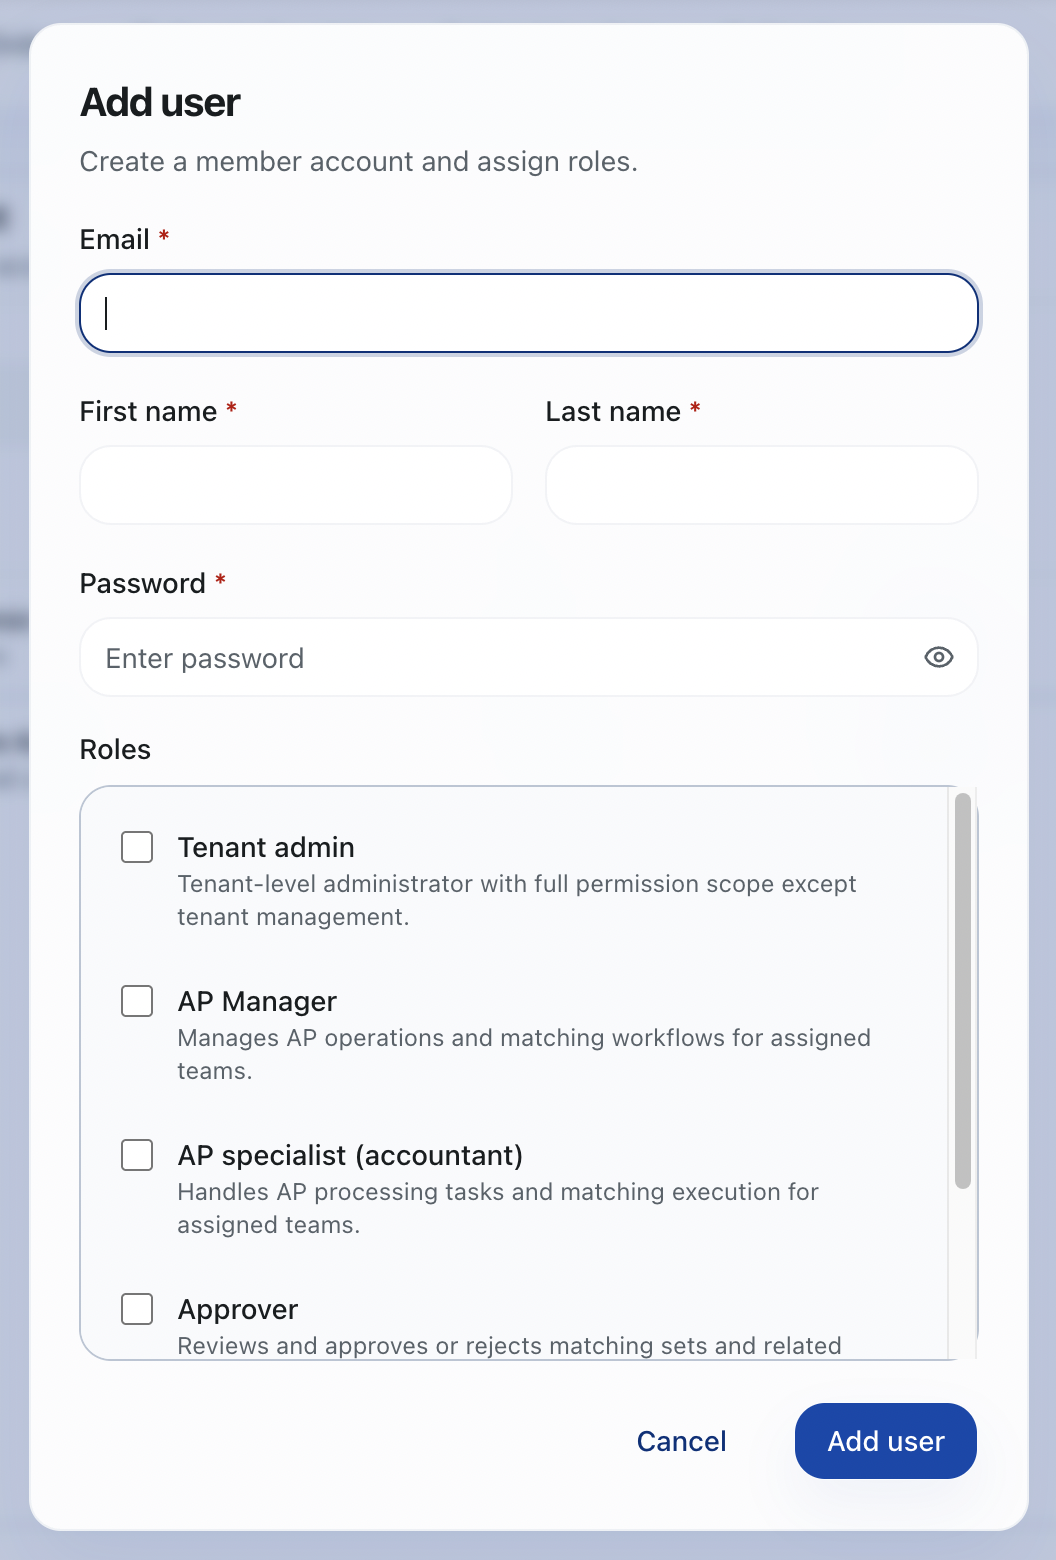
-
Click Create User.
Validation rules:
- Email must be valid
- First and last name are required
- Password must be at least 6 characters
Edit a user
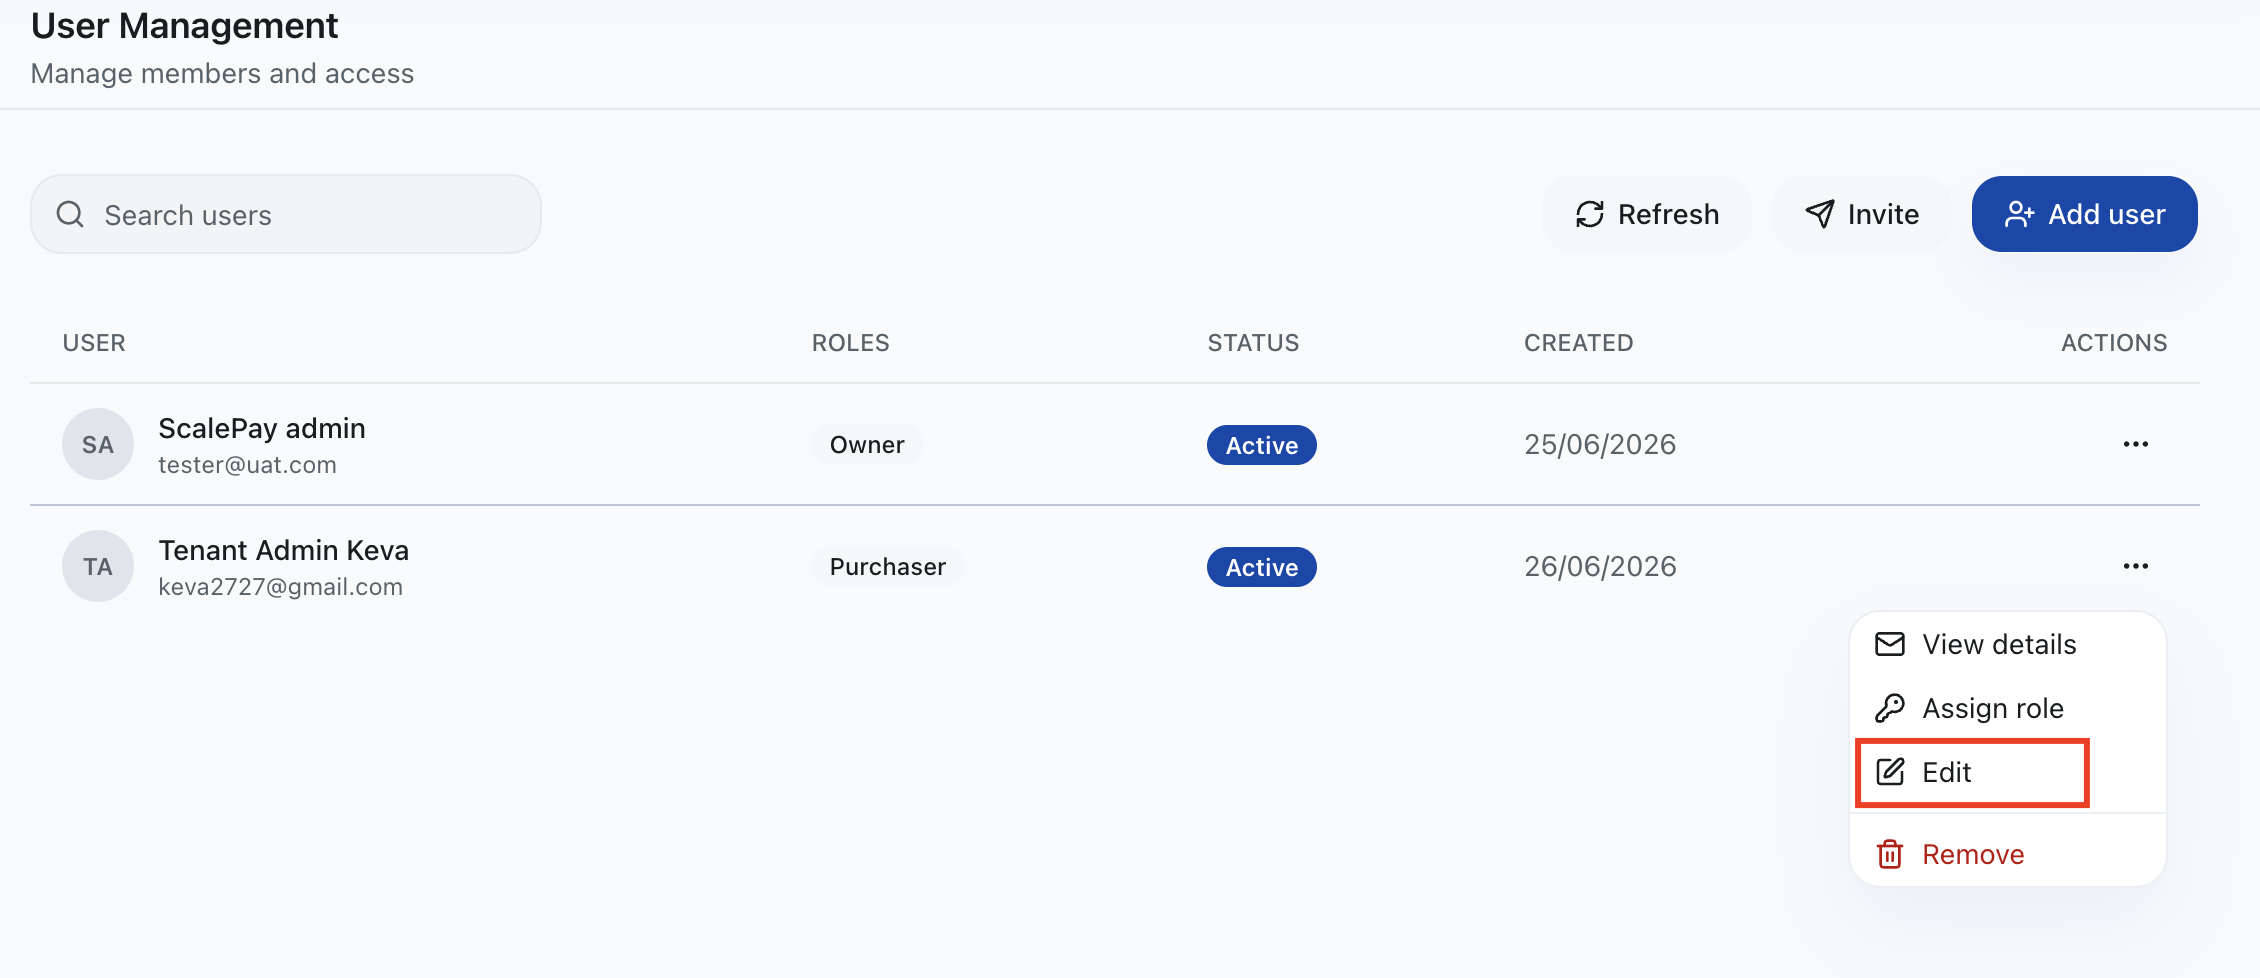
- In the user row, click the Edit icon.
- Update user information.
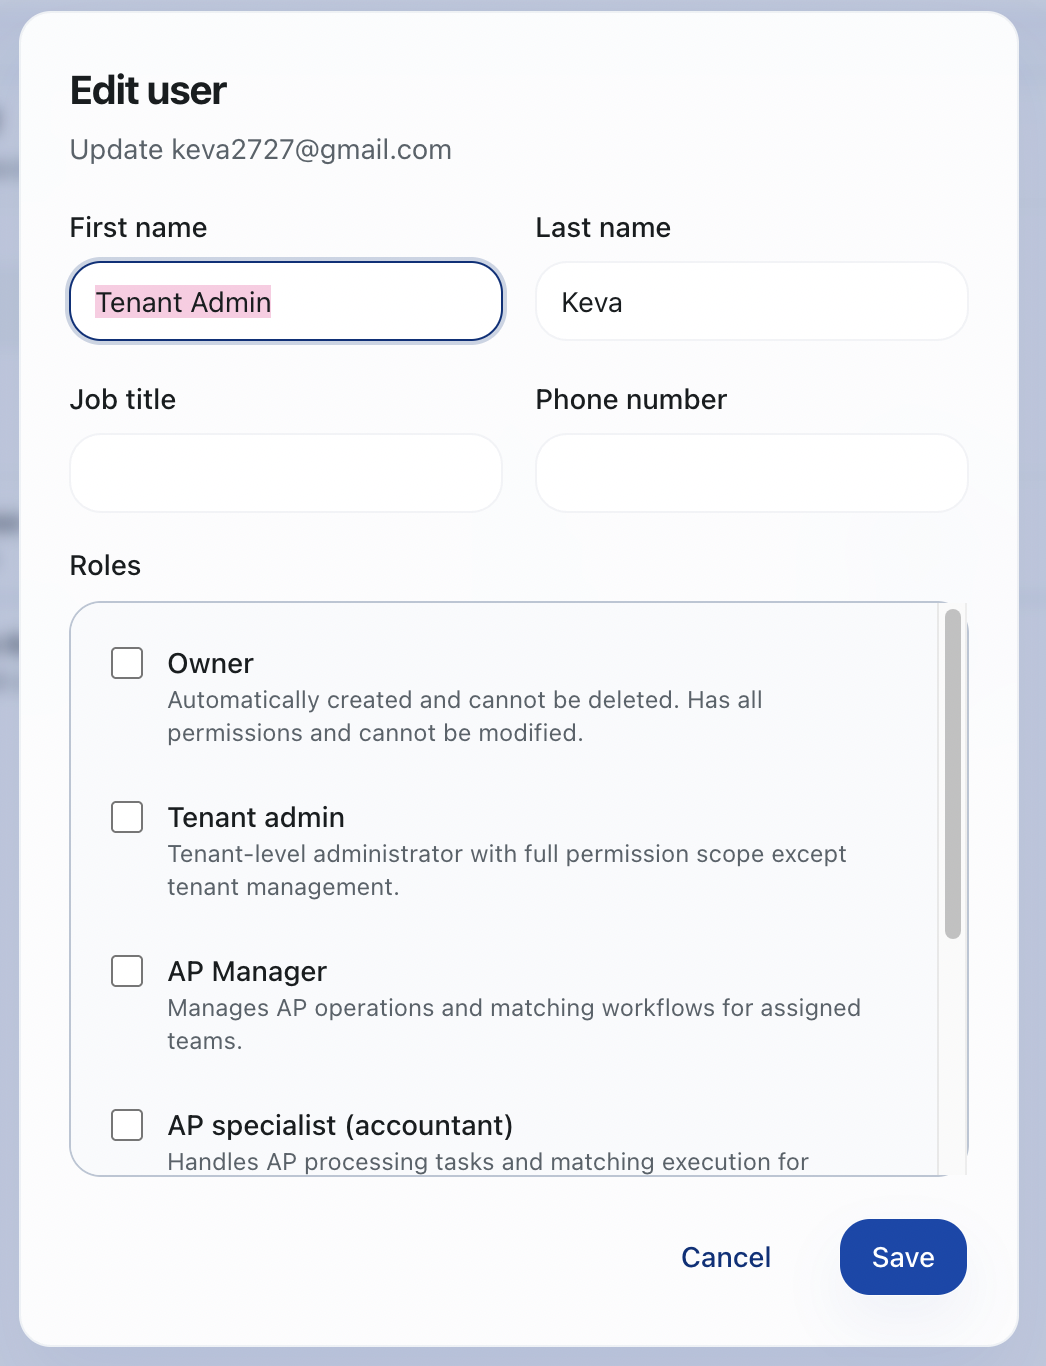
- Click Save Changes.
Notes:
- Email is read-only in edit mode.
- This action updates profile fields (not role assignment).
Assign roles to a user
- In the user row, click the Assign Role icon (shield).
- Select one or more roles.
- Click Save.
Notes:
- Role assignment is handled in a dedicated dialog.
- For owner accounts, role assignment is disabled from the list.
- If you are unsure which role to choose, review Roles & Permissions.
Open user detail page
From 3 dots on each row, click here to open the detail page.

You can review:
- Identity information
- Contact information
- Status and member since date
- Workspace-related profile details
Delete a user
- In the user row, click the Delete icon.
- Confirm in the dialog.

- The user is removed after successful confirmation.
Use this action carefully because it can affect access and workflow ownership.
Real-world onboarding example
- A new support staff member joins the company.
- Admin invites the user by work email.
- The user signs in with SSO from Account Registration.
- Admin assigns the
Support Agentrole. - Admin adds the user to the right team in Team Management.
- The user starts handling conversations in Inbox.
Offboarding example
- A staff member leaves the company.
- Admin removes or disables their access.
- Admin checks open tickets assigned to that user.
- Tickets and conversations are reassigned to another user or team.
Troubleshooting
I cannot see User Management
- You may not have user view permission.
- Ask your admin to grant organization user view access.
I can view the table but cannot invite/add/edit/delete
- You may only have view permission.
- Ask your admin for user management permission.
I cannot assign roles
- You need role assignment permission.
- Ask your admin to grant role assignment access.
My changes are not visible immediately
- The list usually refreshes automatically after successful actions.
- If needed, refresh the page and search again.