Build Your First Form
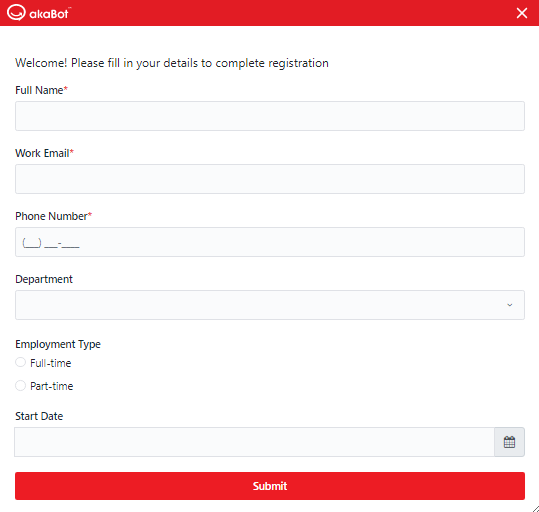
This tutorial shows how to build a form that uses components from all four component groups: Basic, Advanced, Layout, and Data. For this example, a new employee fills in a registration form. The workflow pre-fills a hidden employee ID, displays the form to collect the employee's details, and logs the submitted data.
-
Open the Form Builder.
a. In akaBot Studio, drag a Display Form activity into your workflow designer canvas.
b. Click the Open Form Builder button directly inside the body of the activity. This will launch the visual Form Builder editor window.
c. The form is initially blank. After configuring your fields in the steps below, you will save the schema.
-
Add a welcome header using the Layout group. a. In the components menu on the left panel, click to expand the Layout category.
b. Drag the Content component and drop it onto the center canvas. The settings modal will open automatically.
c. Under the Display tab, in the Rich Text Editor area, type:
Welcome! Please fill in your details to complete registration.d. Click Save at the bottom of the modal to apply the changes and return to the canvas.
-
Add personal detail fields using the Basic and Advanced groups.
a. Full Name Field:
- Expand the Basic category on the left panel, drag a Text Field component, and drop it onto the canvas.
- Under the Display tab, set the Label to
Full Name. - Switch to the Field Key tab and set the Property Name to
fullName. - Click Save.

b. Work Email Field:
- Expand the Advanced category on the left panel, drag an Email component, and drop it below the Full Name field.
- Under the Display tab, set the Label to
Work Email. - Switch to the Field Key tab and set the Property Name to
email. - Click Save

c. Phone Number Field:
- Under the Advanced category, drag a Phone Number component, and drop it below the Work Email field.
- Under the Display tab, set the Label to
Phone Number. - Switch to the Field Key tab and set the Property Name to
phone. - Click Save.

-
Add employment detail fields using the Basic and Advanced groups.
a. Department Dropdown:
- Under the Basic category, drag a Select component, and drop it below the Phone Number field.
- Under the Display tab, set the Label to
Department.- Switch to the Data tab, find the Data Source Value section, and click Add to add the following options:
- Label:
IT, Value:IT - Label:
Finance, Value:Finance - Label:
HR, Value:HR - Label:
Sales, Value:Sales
- Label:
- Switch to the Field Key tab and set the Property Name to
department. - Click Save.
- Switch to the Data tab, find the Data Source Value section, and click Add to add the following options:

b. Employment Type Selection:
- Under the Basic category, drag a Radio component, and drop it below the Department field.
- Under the Display tab, set the Label to
Employment Type. - Switch to the Data tab, find the Values section, and click Add to add the following options:
- Label:
Full-time, Value:Full-time - Label:
Part-time, Value:Part-time
- Label:
- Switch to the Field Key tab and set the Property Name to
employmentType.- Click Save.

c. Start Date Picker:
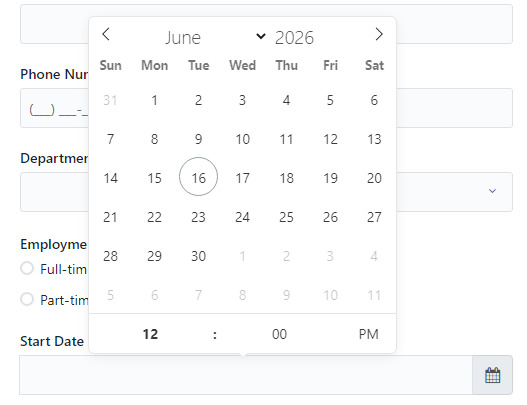
- Under the Advanced category, drag a Date / Time component, and drop it below the Employment Type field.
- Under the Display tab, set the Label to
Start Date. - Switch to the Field Key tab and set the Property Name to
startDate. - Click Save.
-
Save the designed form schema.
a. Click the Save button in the top toolbar of the Form Builder.
b. Save the file inside your project workspace folder as
employee_registration.json.c. Close the Form Builder editor window to return to akaBot Studio.