Quick Start
Process your first document in about 10 minutes.
Before you begin
- An account that can manage and publish Pipelines, such as Owner, Administrator, or Supervisor.
- A sample document: PDF, PNG, JPG/JPEG, or XML, up to 25 MB.
- Available quota.
Step 1: Sign In
Open the application address from your administrator, enter Username or email, select Sign In, and complete the authentication steps.
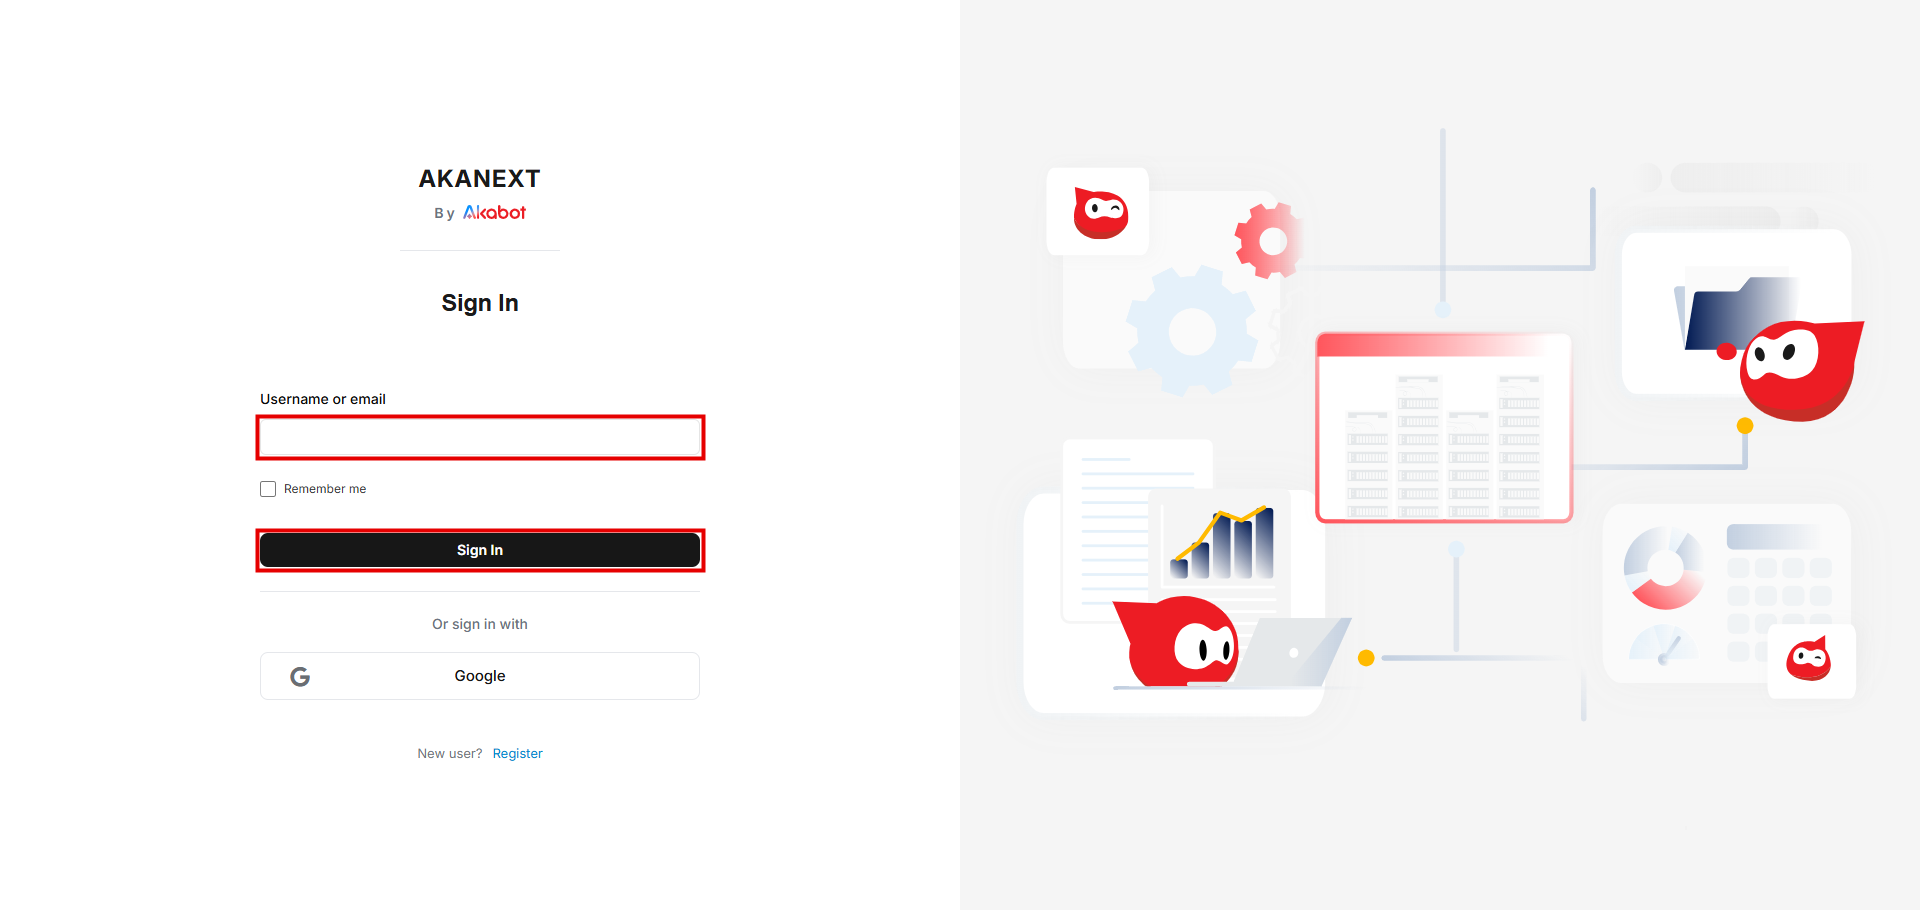
Result: your company name appears at the top of the page.
Step 2: Create a Pipeline from Your Sample
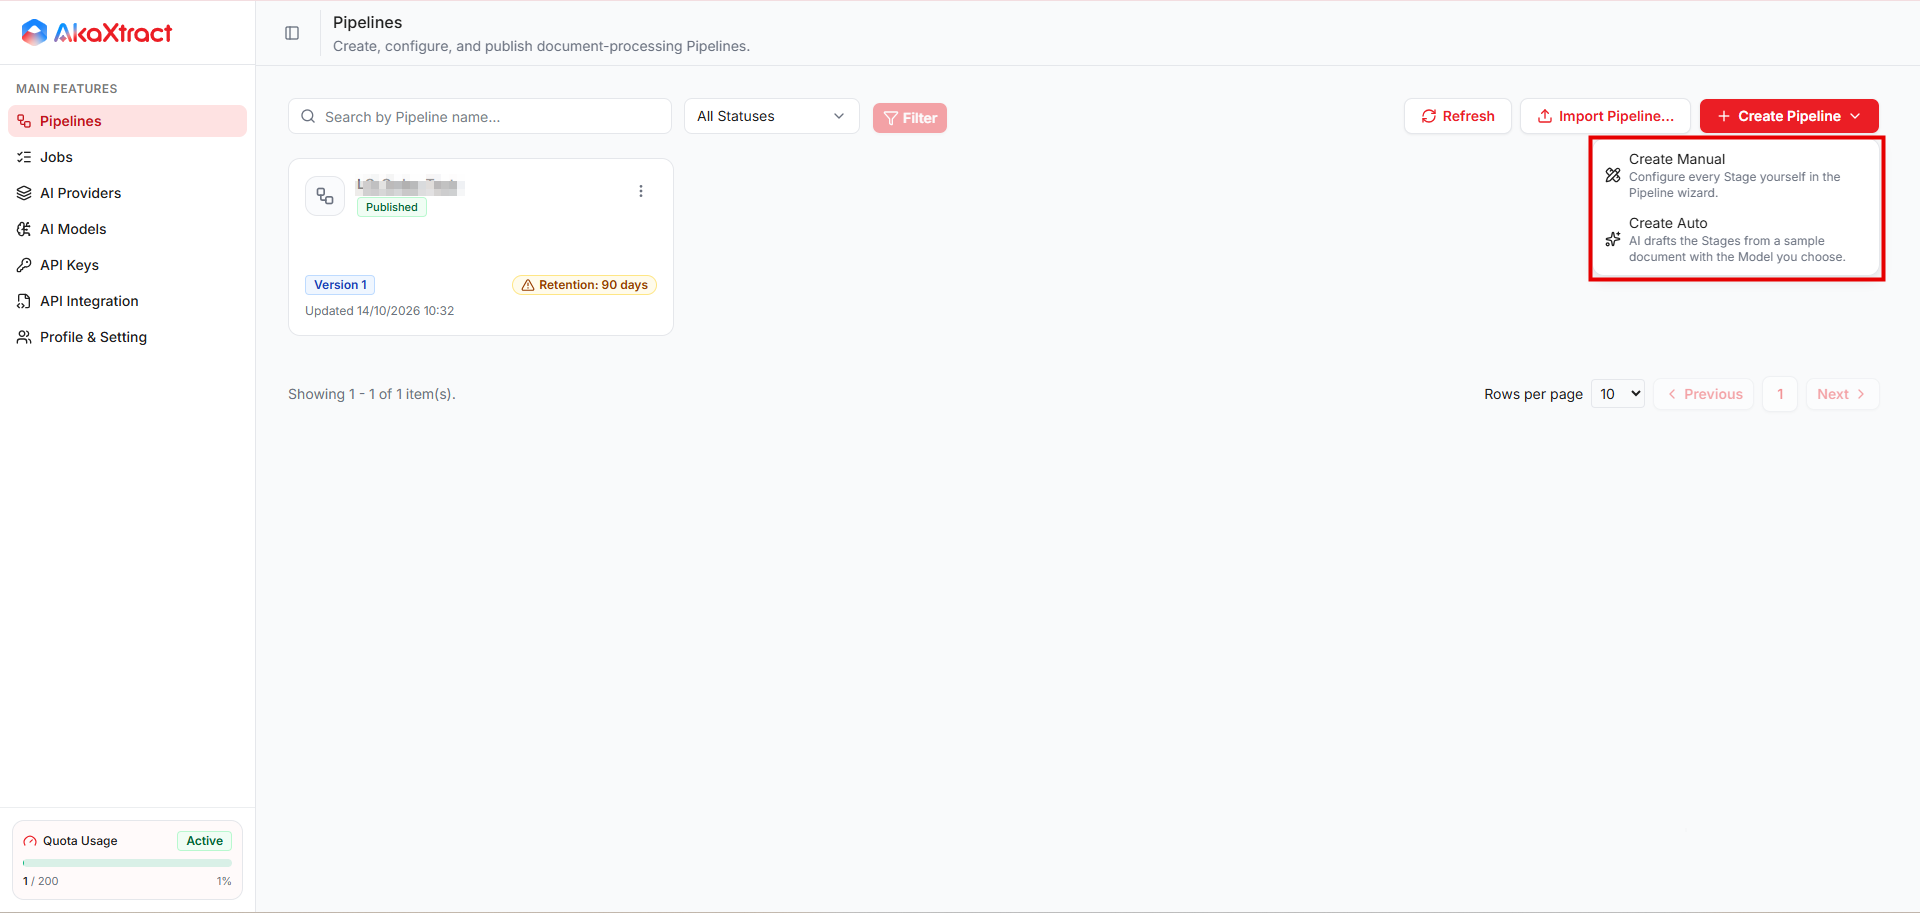
- Open
Pipelines->Create Pipeline->Create Auto. - Enter a
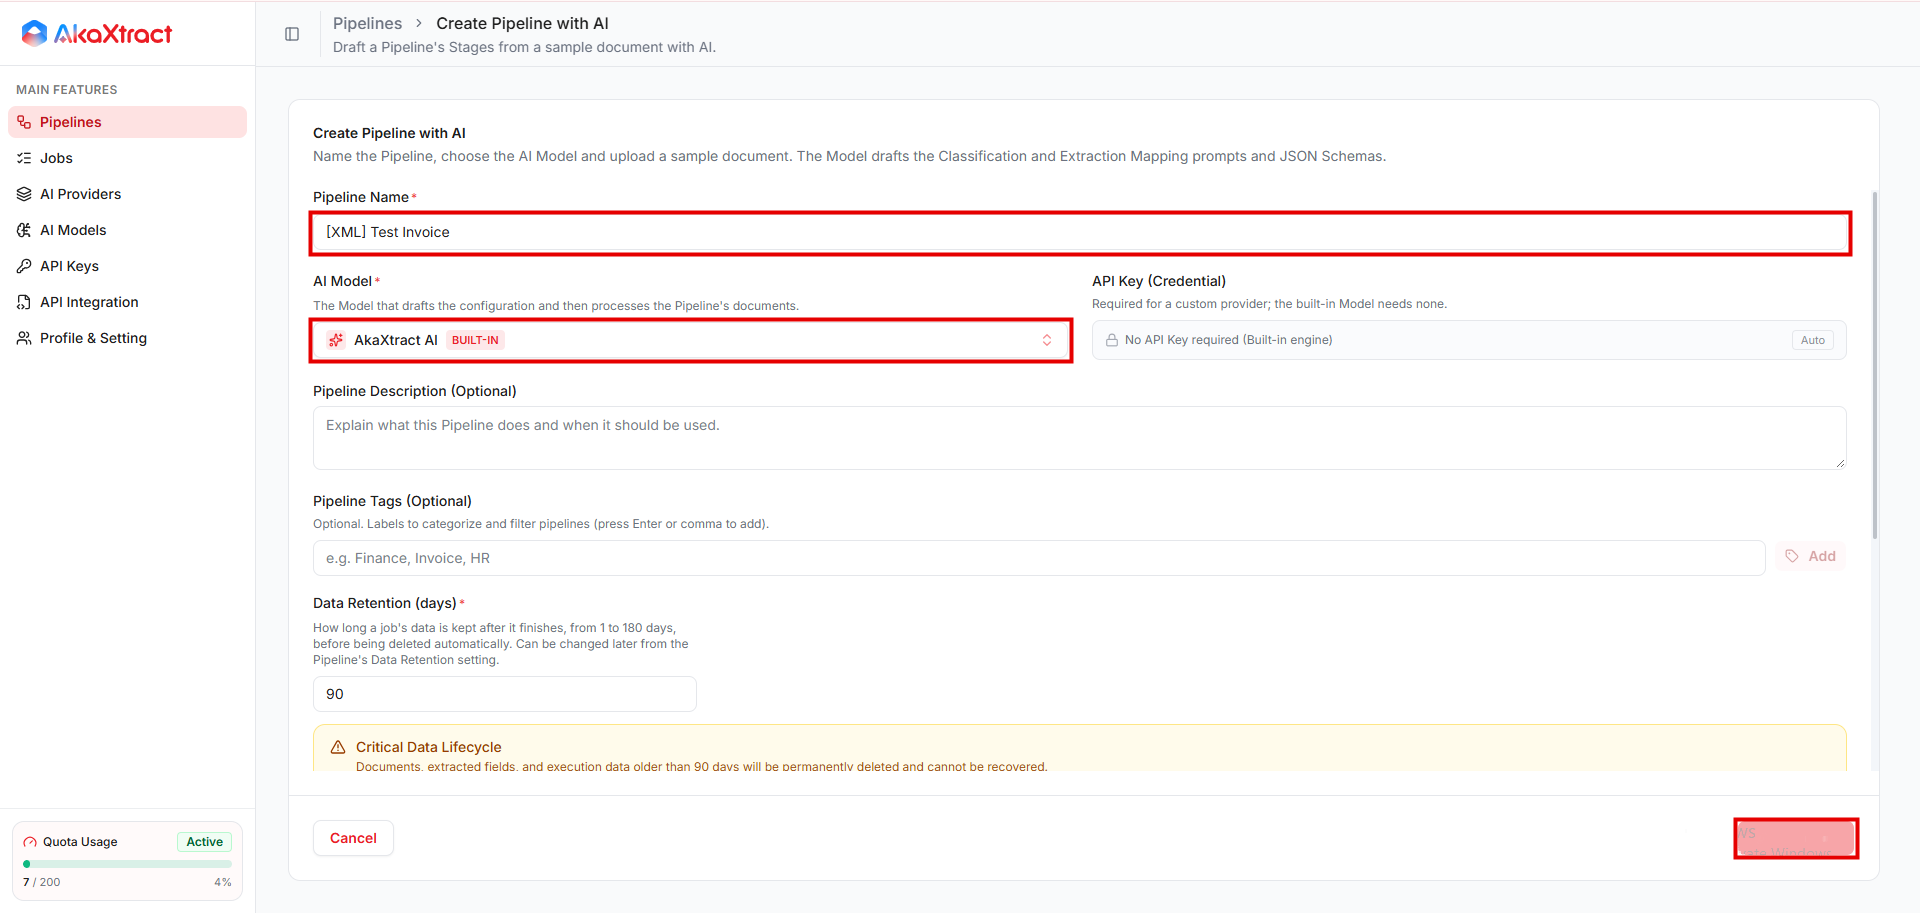
Pipeline Nameand keep the built-inAkaXtract AImodel. It needs no API key. - Turn off
Auto-Approve Resultsso that you review your first result. - Choose your
Sample Documentand selectGenerate. This can take a few minutes. - In
Review Generated Configuration, check the prompts, schemas, and mappings, then selectCreate Draft.
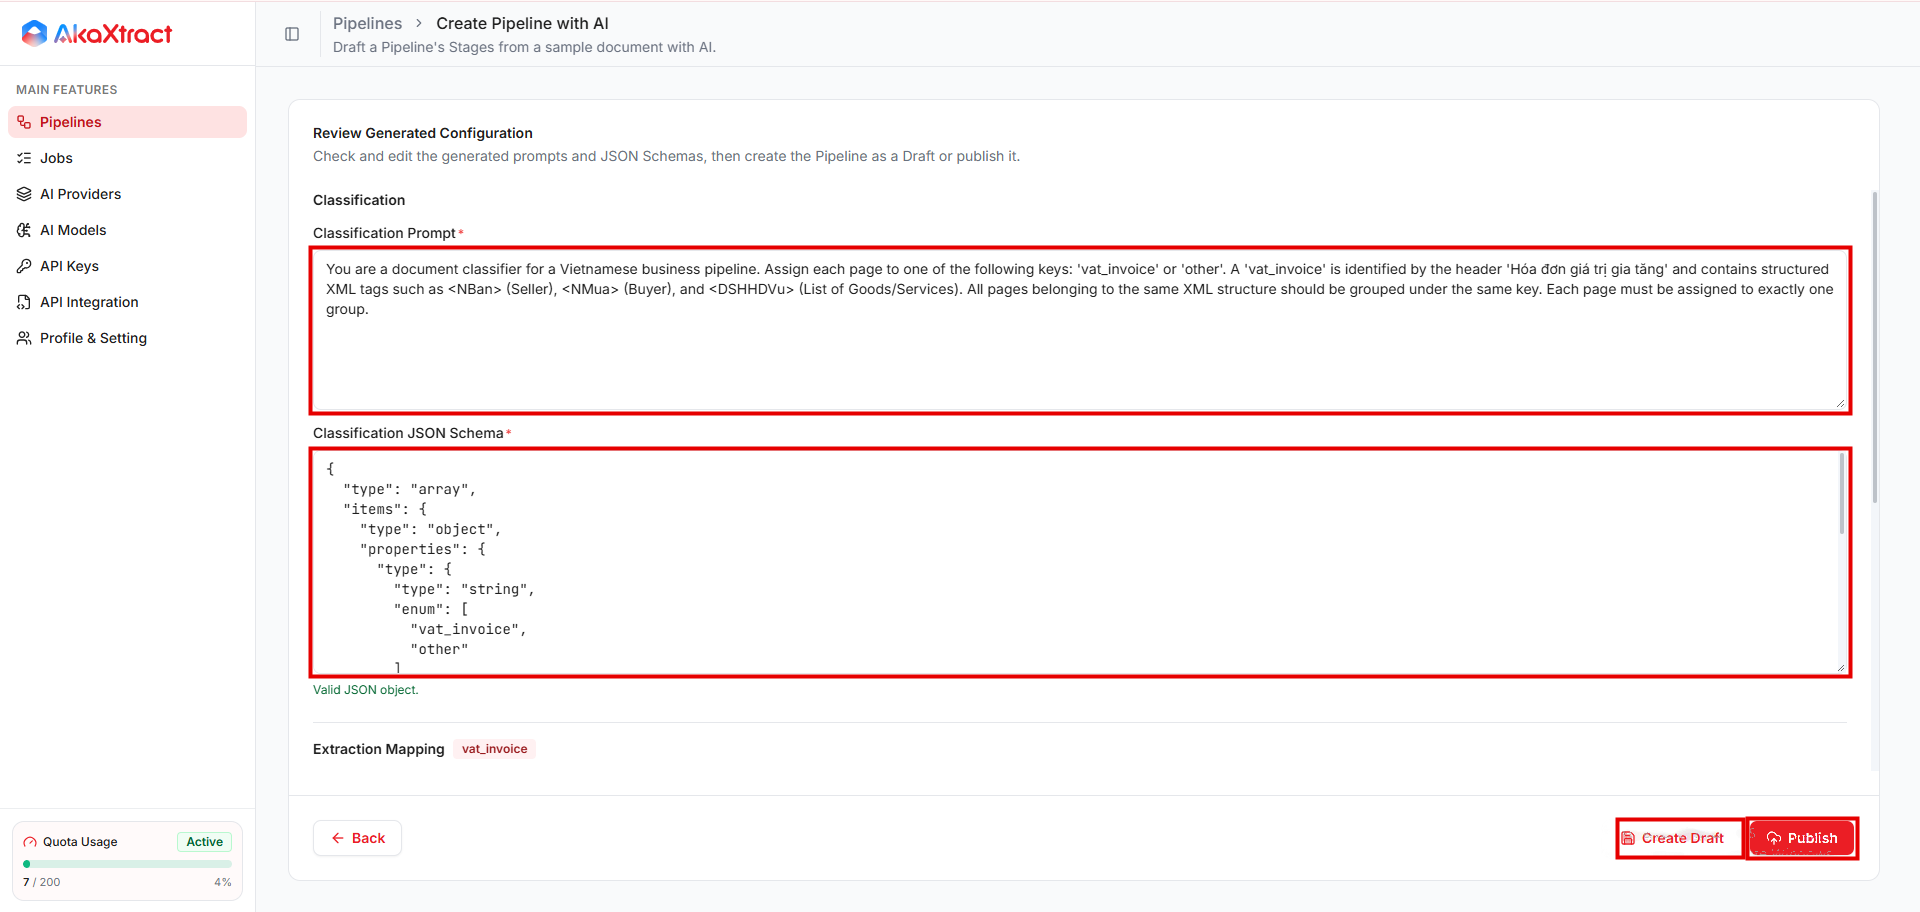
Result: the Pipeline opens as Draft v1.
Step 3: Test and Publish
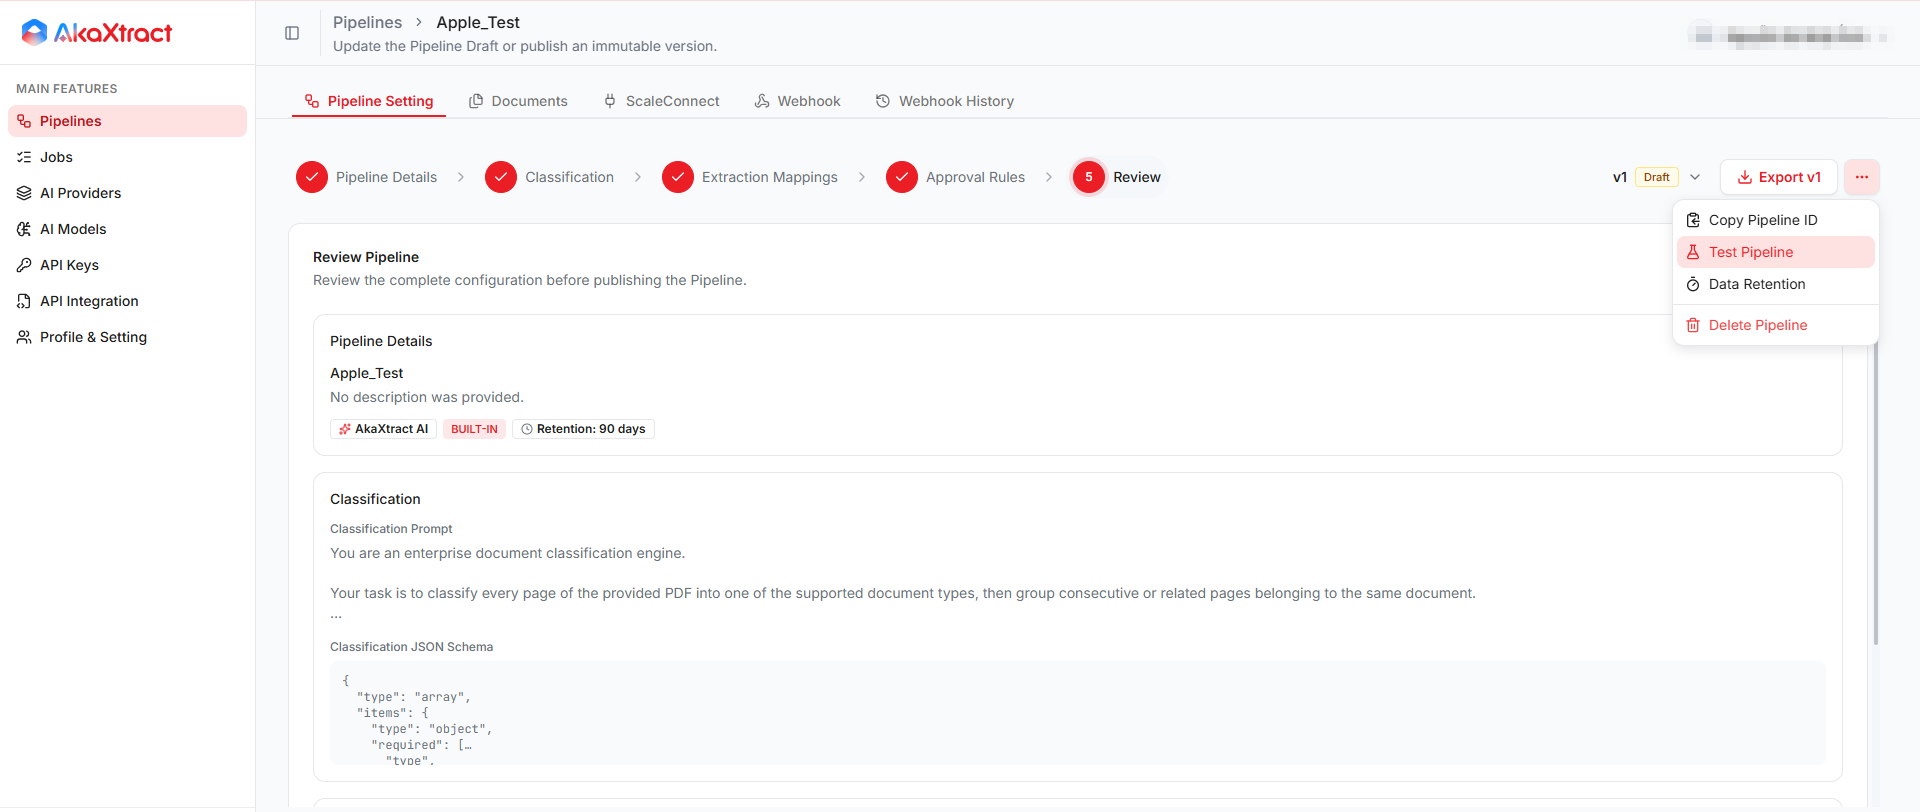
- Select
More Pipeline Actions->Test Pipeline. - Select
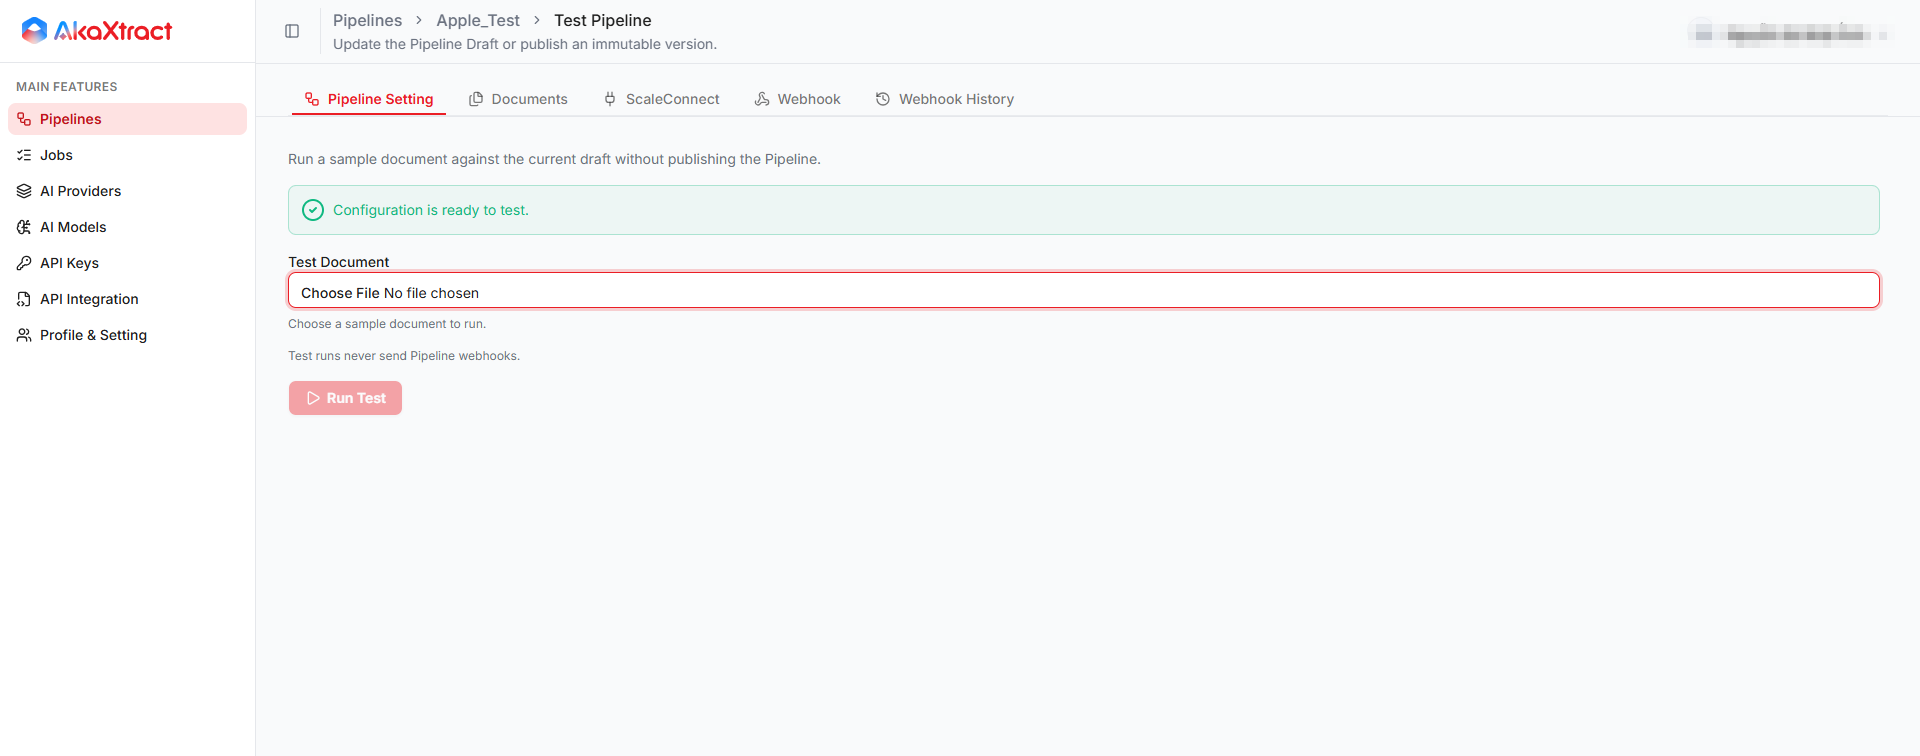
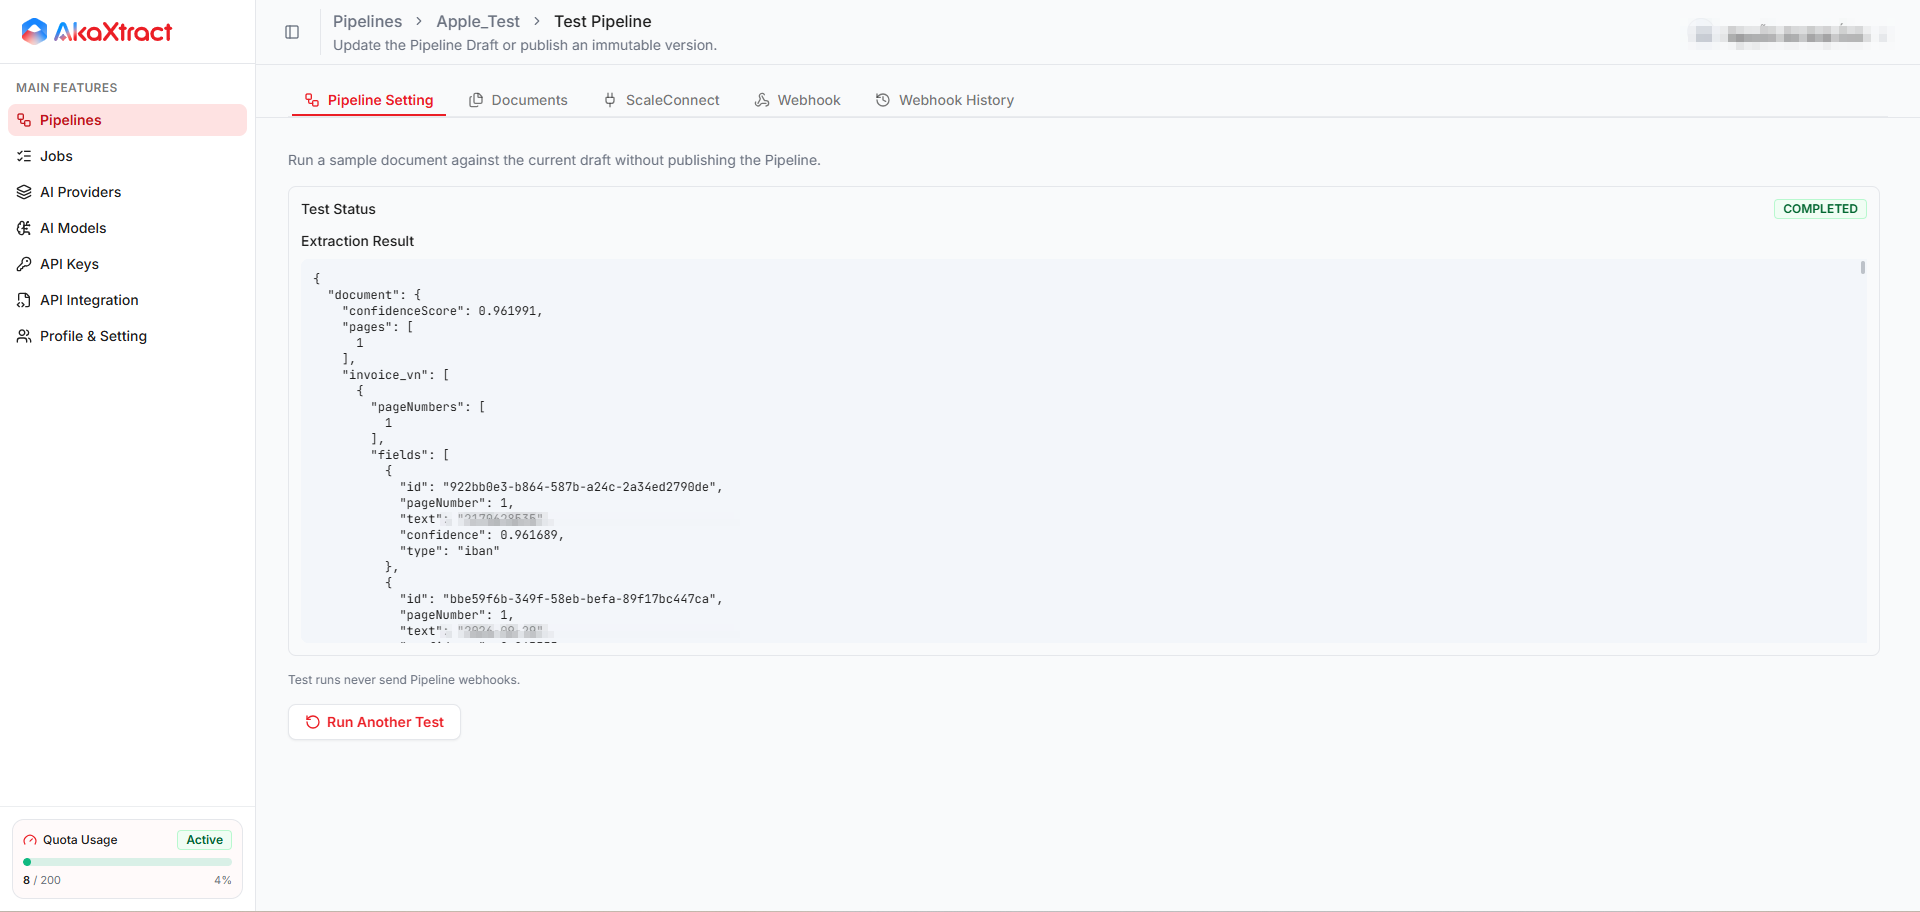
Test Document->Run Test, then compareExtraction Resultwith your sample. - In the Draft, select
Publish Version.
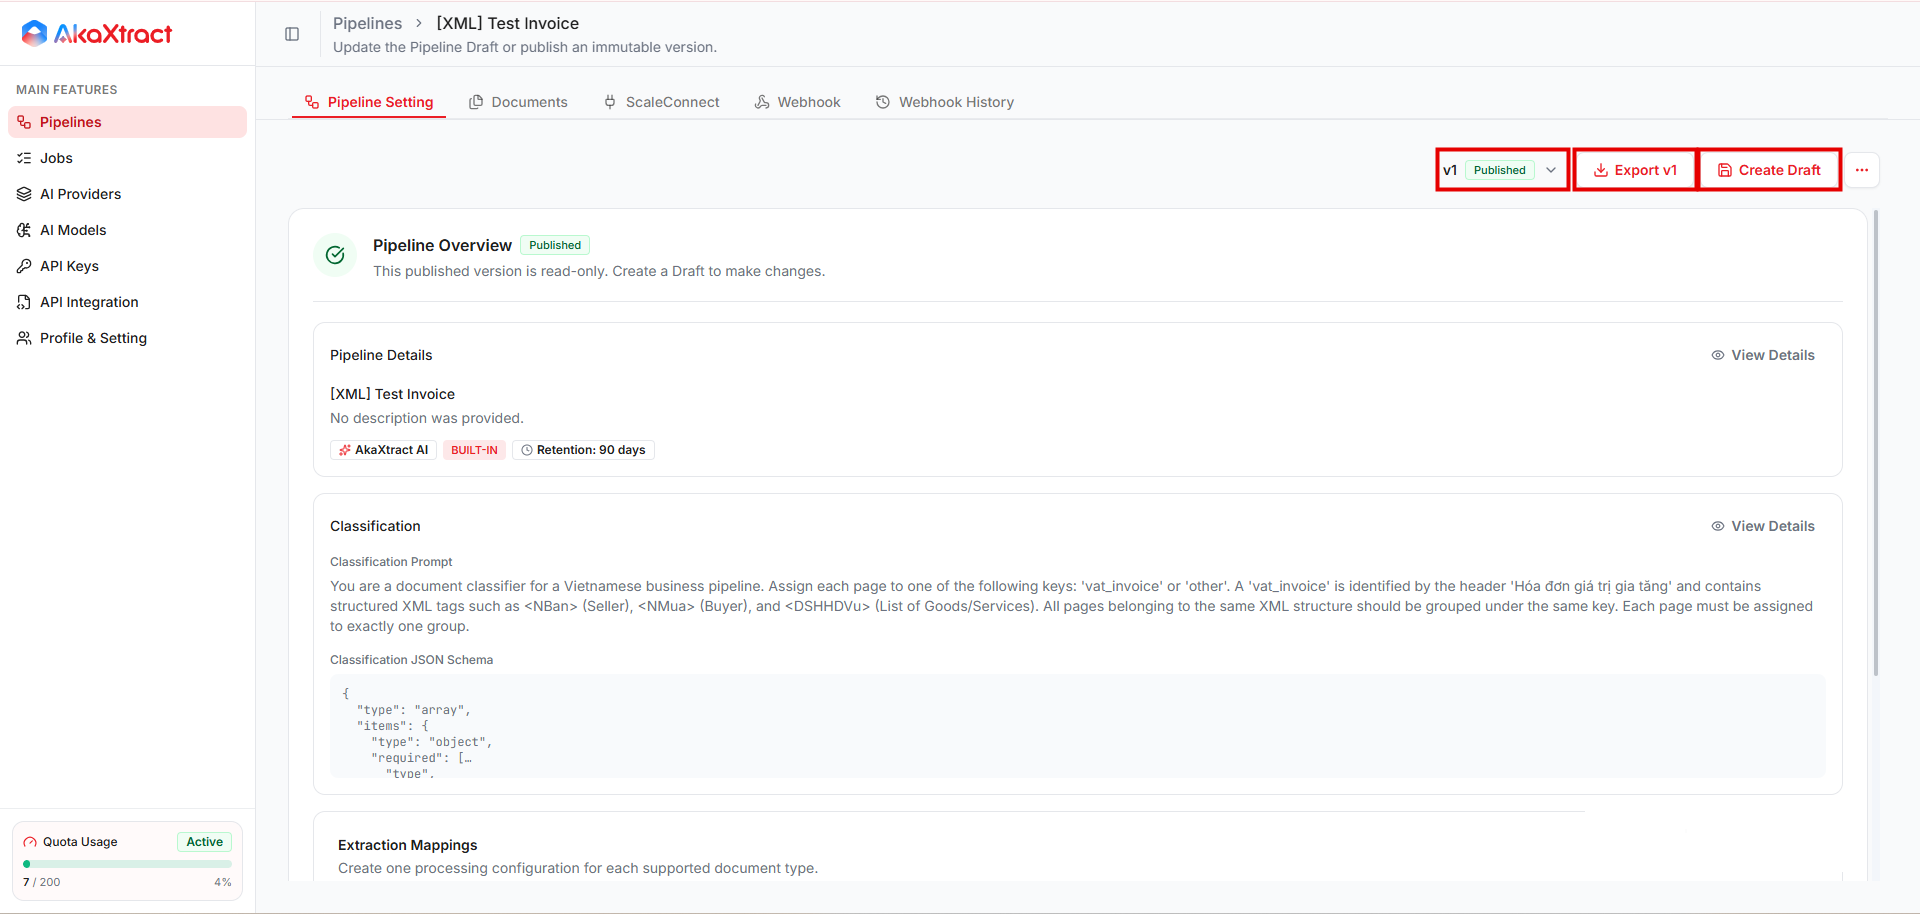
Result: version 1 shows Published.
Step 4: Upload a Document
Open your Pipeline, select Documents -> Upload Document, choose a file, and select Upload Document again.
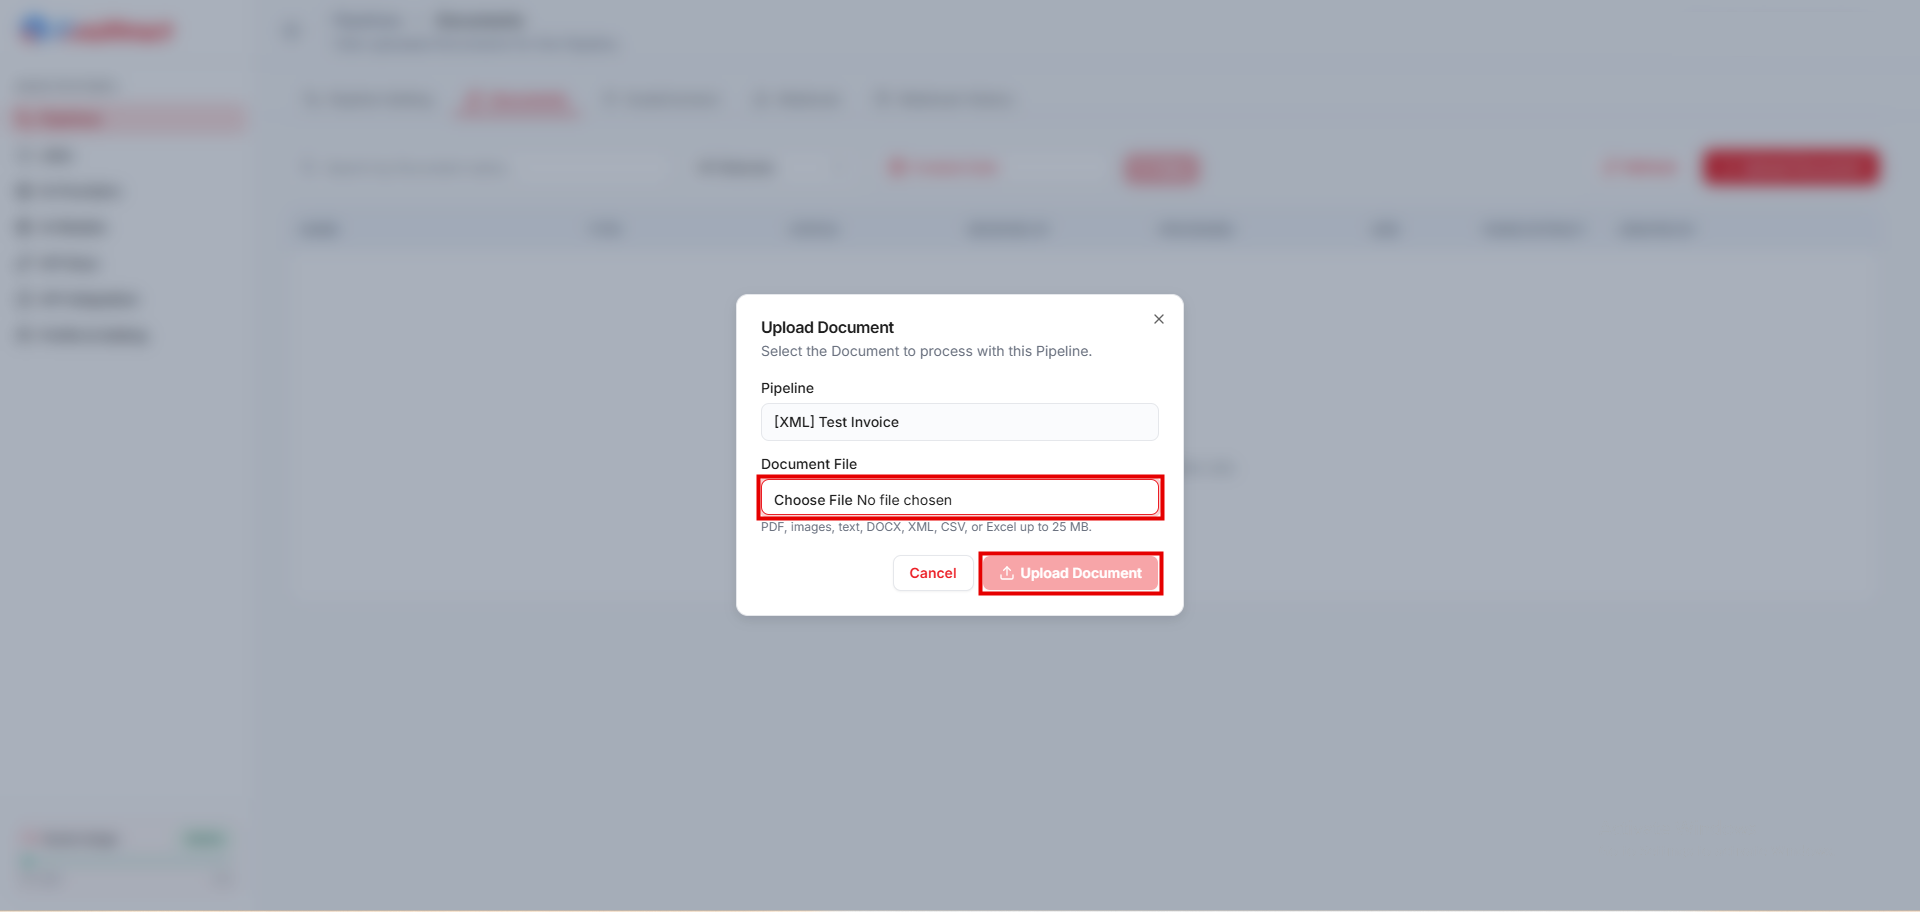
Result: the document appears in the list. After processing, its status is To Review.
Step 5: Review and Confirm
- Open the row menu of the document and select
Review. - Check the warnings at the top, compare the extracted fields with the source document, and correct any value that is wrong.
- Select
Confirm.
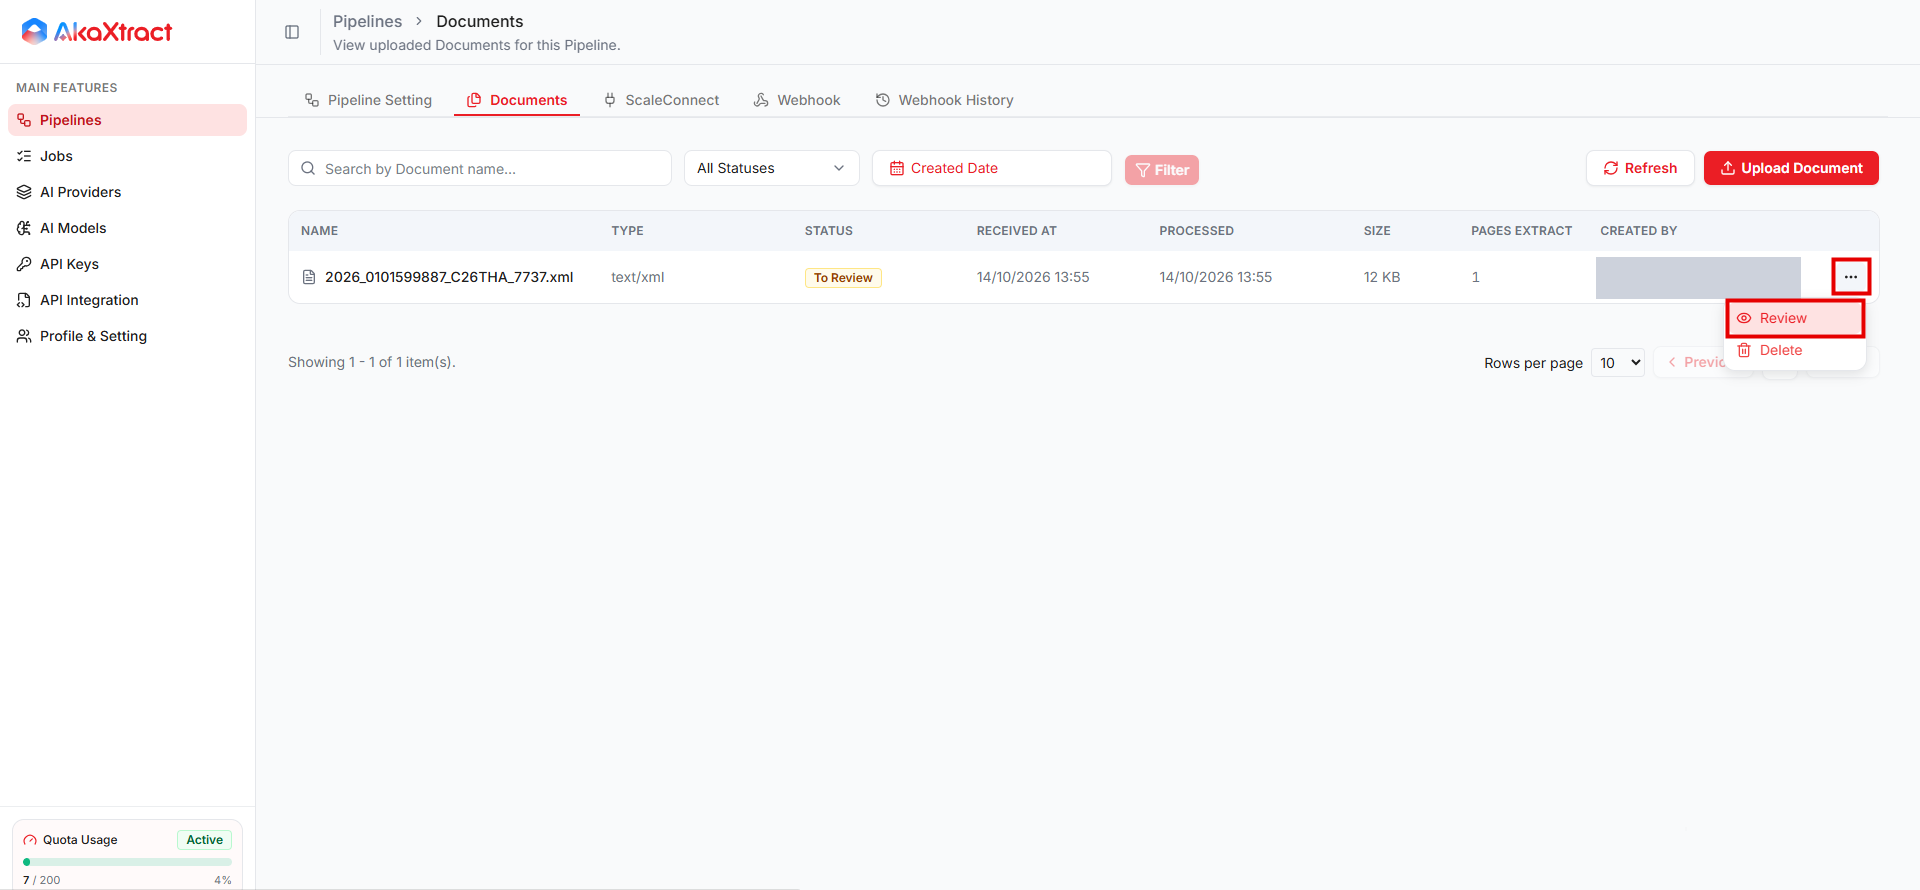
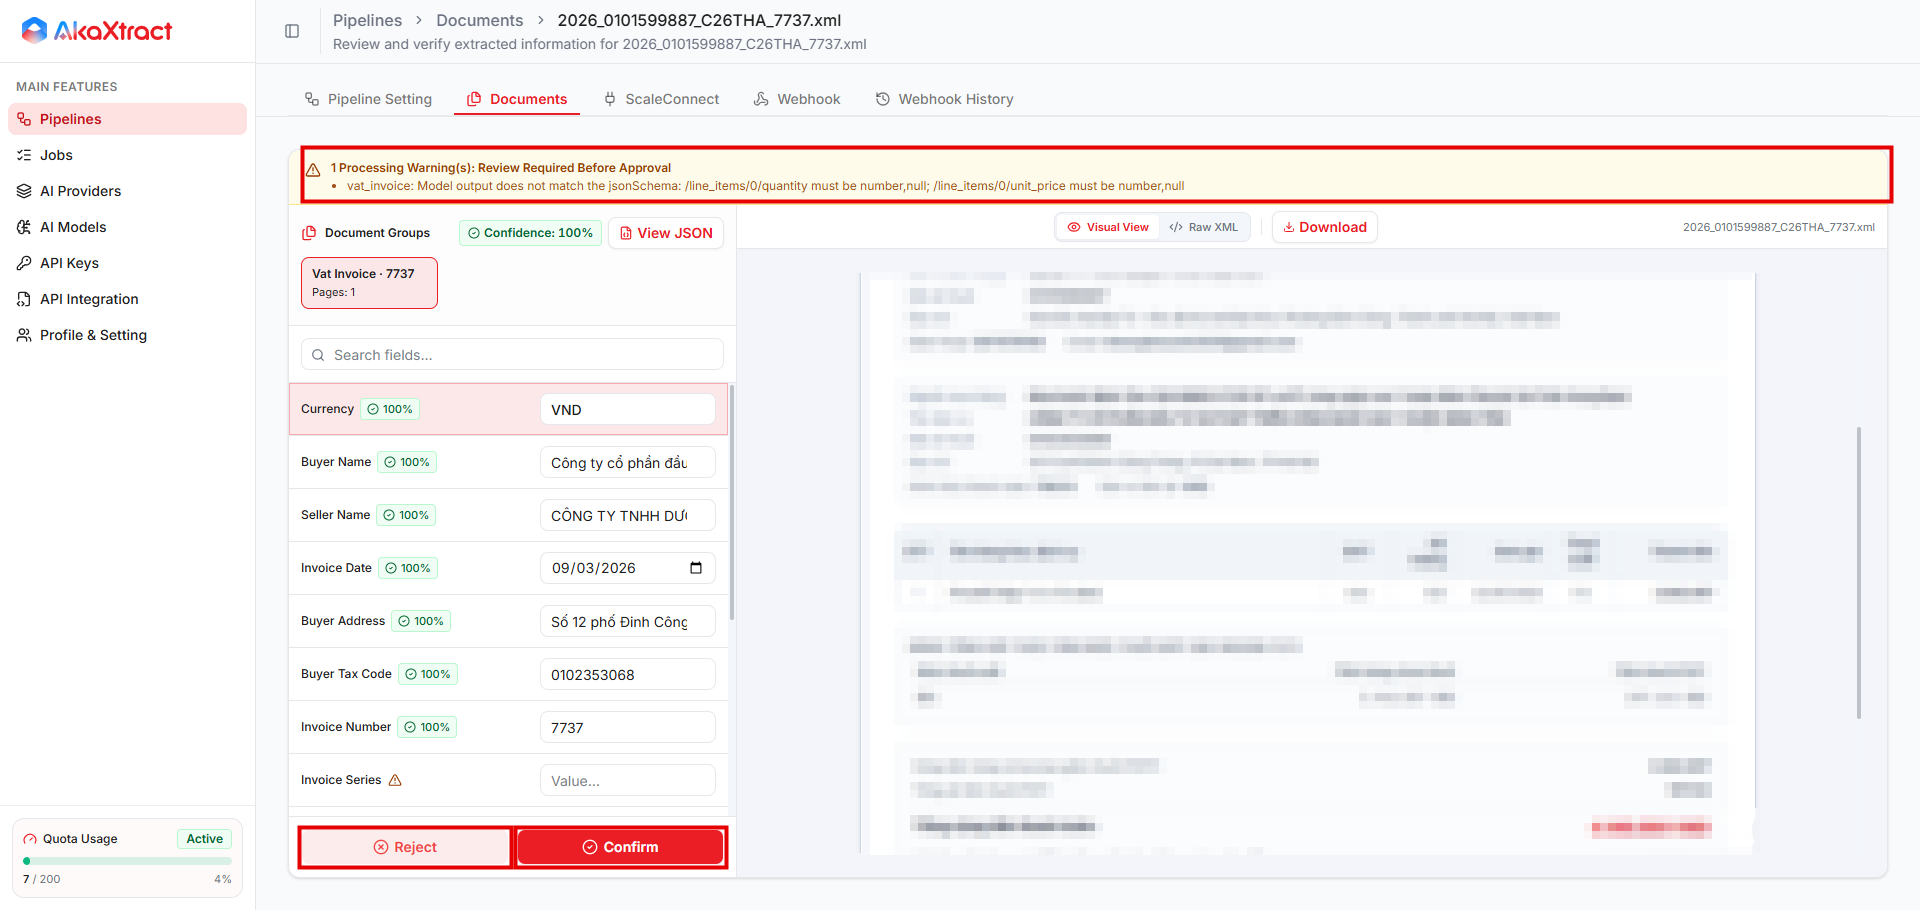
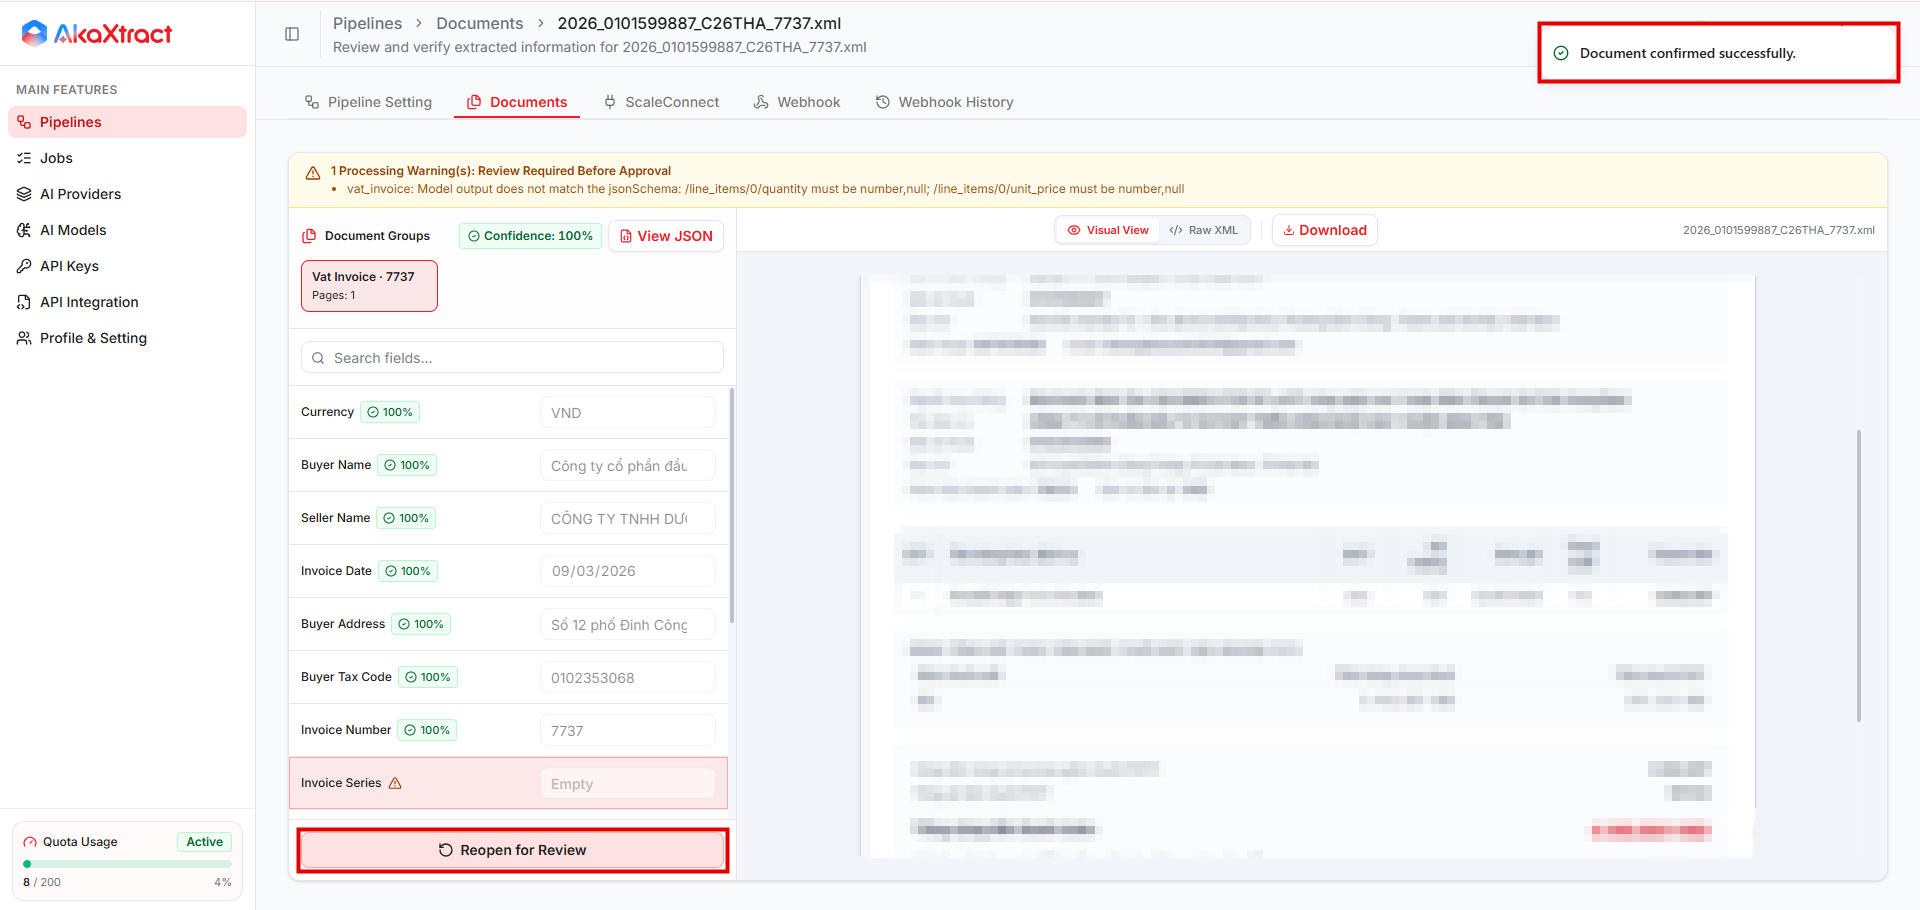
Result: the message Document confirmed successfully. appears, and the document status is Confirmed.
Step 6: Export the Data
Open the row menu of the document, select Export..., choose a format, and select Export.
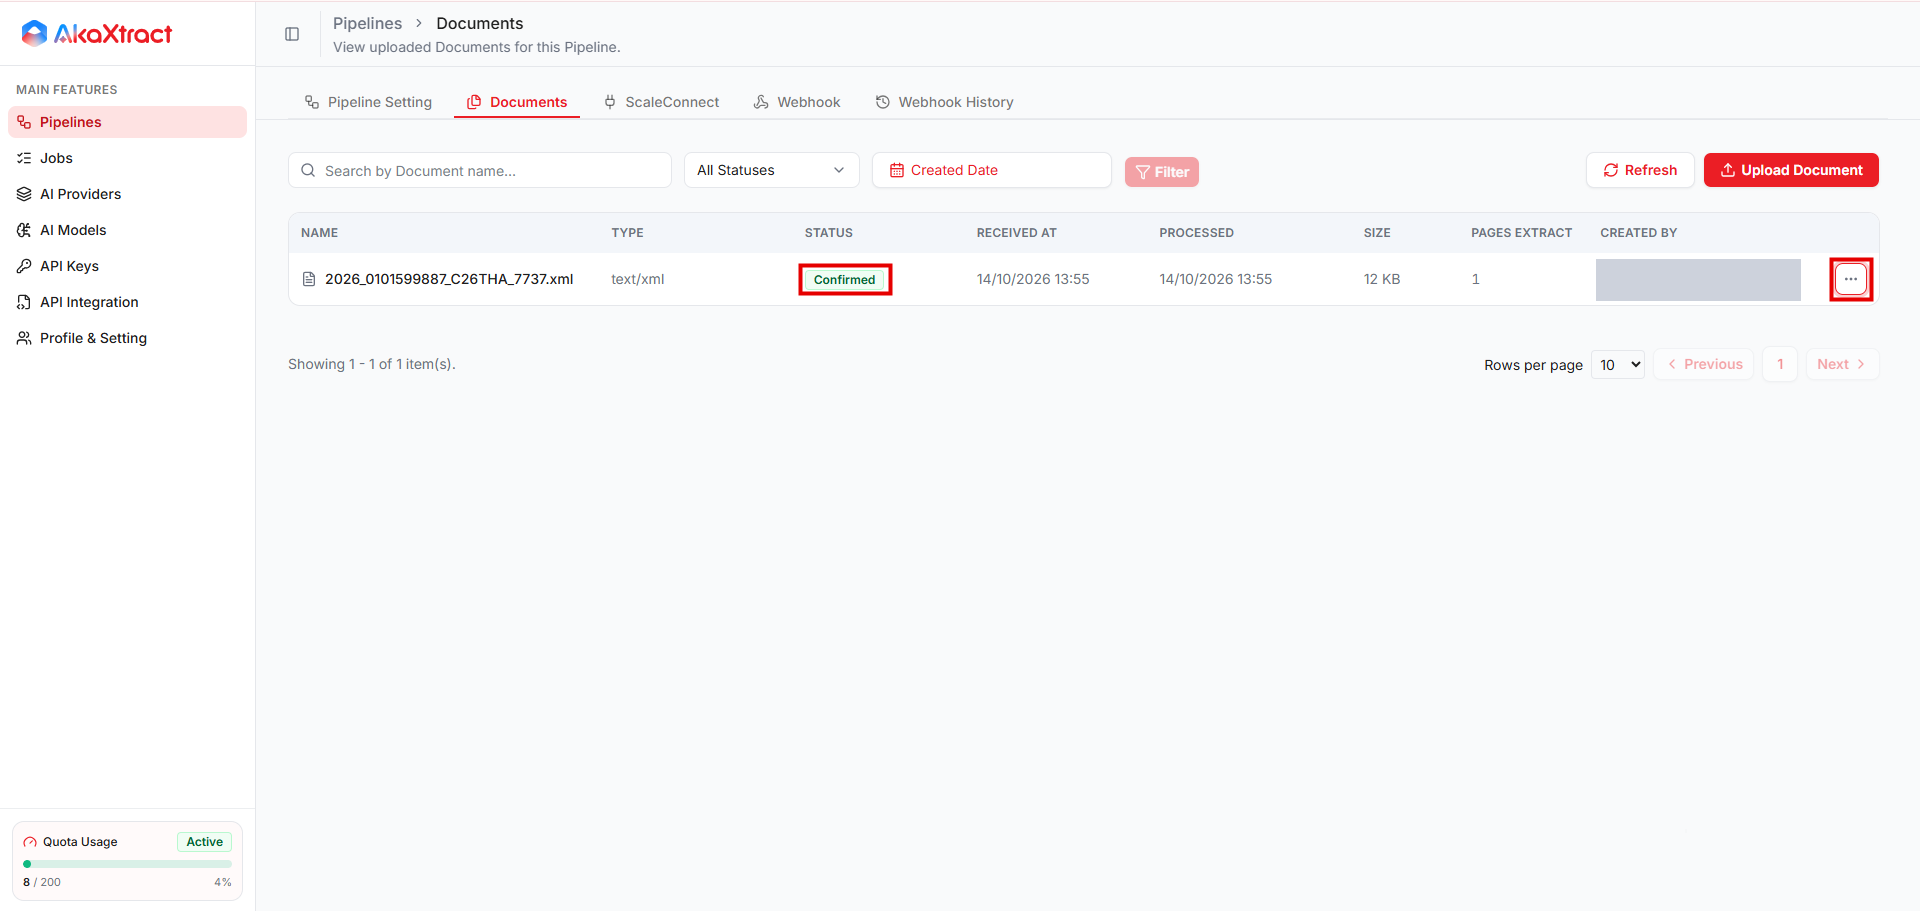

Result: your browser downloads the extracted data.
Next Steps
- Create a Pipeline: configure each step yourself.
- Webhooks: send confirmed results to another system.
- Troubleshooting: fix a failed Job or an error message.